Soil Solarization: Kill Weeds, Nematodes, and Soil Pathogens Naturally in 4 Weeks
What Is Soil Solarization?
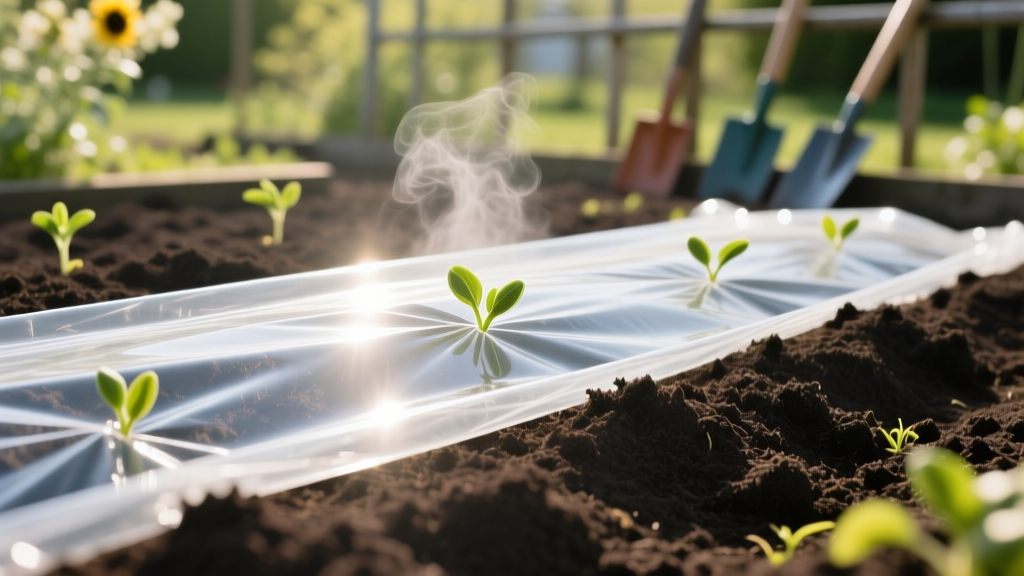
Soil solarization uses the sun's energy trapped under clear plastic to heat the top 6-12 inches of soil to temperatures that kill weed seeds, harmful fungi, nematodes, and soil-borne pathogens. It's one of the most effective organic soil preparation methods available — no chemicals, no tilling, just sunlight and plastic.
When to Solarize Your Soil
The best time is during the hottest 4-6 weeks of summer. You need consistent daytime temperatures above 85°F (29°C) and clear skies. In most US zones, this means:
- Zones 3-5: July through mid-August
- Zones 6-7: Mid-June through August
- Zones 8-10: June through September (longer window)
Materials Needed
- Clear plastic sheeting (1-4 mil thickness) — NOT black plastic
- Garden hose for pre-watering
- Shovel or edger to dig perimeter trench
- Soil thermometer (optional but recommended)
- Bricks or soil to anchor edges
Step-by-Step Solarization Process
Step 1: Clear and Smooth the Area
Remove all existing vegetation, debris, and large rocks. Rake the soil smooth — sharp objects can puncture the plastic. The smoother the surface, the better the plastic contacts the soil and the more heat transfers.
Step 2: Water Deeply
Moist soil conducts heat better than dry soil. Water the area to a depth of 12 inches the day before covering. This also triggers weed seeds to germinate, making them more vulnerable to heat.
Step 3: Lay the Plastic
Use clear (transparent) plastic — it allows sunlight through to heat the soil. Black plastic absorbs heat at the surface but doesn't transfer it downward as effectively. Lay the plastic flat over the prepared bed.
Step 4: Seal the Edges
Dig a 4-6 inch trench around the perimeter. Bury the plastic edges in the trench and cover with soil. This creates an airtight seal that prevents heat escape. Any gaps dramatically reduce effectiveness.
Step 5: Leave for 4-6 Weeks
Don't peek! Leave the plastic undisturbed. Soil temperatures under the plastic should reach 110-140°F (43-60°C) in the top 2 inches and 90-110°F (32-43°C) at 6-12 inches depth.
Step 6: Remove and Plant
After 4-6 weeks, remove the plastic. The soil is now sterilized and ready for planting. Avoid deep tilling after solarization — it brings untreated soil to the surface and reintroduces pathogens.
What Solarization Kills
| Target | Temperature Needed | Result |
|---|---|---|
| Weed seeds | 108°F for 30 min | 95-100% kill rate |
| Fusarium wilt | 120°F | Significantly reduced |
| Verticillium wilt | 120°F | Significantly reduced |
| Root-knot nematodes | 110°F | 80-95% reduction |
| Cutworms/grubs | 105°F | Eliminated |
| Damping-off fungi | 115°F | Greatly reduced |
What Solarization Does NOT Kill
- Beneficial mycorrhizal fungi: These survive and recolonize quickly
- Deep-rooted perennial weeds: Bindweed and quackgrass may regrow from deep rhizomes
- Earthworms: They migrate deeper and return after plastic removal
After Solarization: Rebuilding Soil Biology
Solarization reduces both harmful and some beneficial organisms. Rebuild the soil ecosystem:
- Add 2-3 inches of compost to reintroduce beneficial microbes
- Inoculate with mycorrhizal fungi when transplanting
- Apply compost tea as a foliar spray and soil drench
- Mulch with organic material to maintain soil biology
Solarization vs. Other Methods
| Method | Cost | Effectiveness | Organic? |
|---|---|---|---|
| Solarization | $20-40 | High (top 6 inches) | Yes |
| Chemical fumigation | $100-300 | Very high | No |
| Flame weeding | $50-80 | Surface only | Yes |
| Sheet mulching | $30-60 | Moderate (slower) | Yes |
Tips for Maximum Effectiveness
- Use double-layer plastic in cooler climates (adds 5-10°F)
- Face the bed south for maximum sun exposure
- Keep plastic clean — dust and condensation reduce light transmission
- Repair any tears immediately with clear tape
- Use thicker plastic (4 mil) in windy areas
Final Thoughts
Soil solarization is the closest thing to a "reset button" for garden soil. It's especially valuable when you're dealing with recurring disease problems, heavy weed pressure, or starting a new garden bed in an area with unknown soil history. Plan it into your annual calendar — solarize one bed each summer on a rotating basis, and you'll maintain clean, productive soil without ever reaching for chemicals.