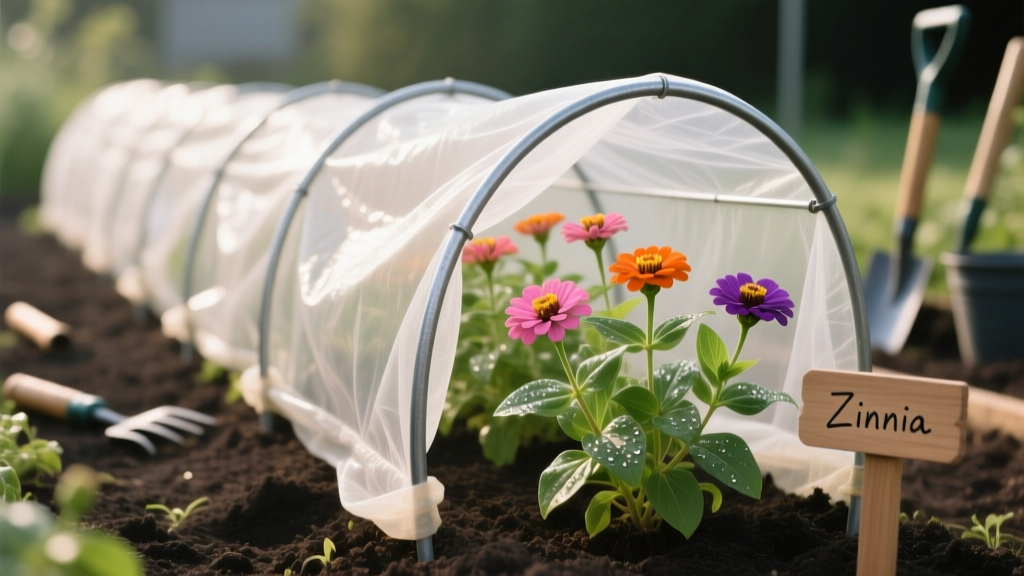
Row Cover Hoop Setup for Zinnias
The first time I tried to “get ahead” on zinnias, I lost half a flat overnight—stems pinched at the soil line and seedlings toppled like someone ran a tiny lawnmower through them. Cutworms. A week later, a late cold snap hit 36°F and slowed the survivors to a sulk. That’s when row-cover hoops earned a permanent spot in my zinnia toolkit: not as a magic shield, but as a practical way to control the first month when zinnias are most vulnerable.
If you’ve ever had zinnias stall, get chewed, or arrive late to the summer party, a simple hoop-and-cover setup can buy you earlier blooms, cleaner foliage, and sturdier plants—if you build it right and manage heat, water, and airflow like a grower, not like a blanket-tosser.
What row cover hoops actually do for zinnias (and what they don’t)
Row cover hoops are lightweight frames (usually wire or PVC) that hold fabric above the plants. For zinnias, they’re most useful from sowing through the first 3–5 weeks after emergence, when seedlings are small and pests, wind, and temperature swings can set them back.
- They help with: frost protection (a few degrees), wind buffering, keeping flea beetles and leafhoppers off early growth, reducing rabbit nibbling, and speeding early growth by warming soil and air.
- They don’t fix: chronically wet soil, poor airflow all season, or fungal problems caused by crowding and overhead watering.
As the University of Minnesota Extension notes, floating row covers can provide several degrees of frost protection, but they must be vented or removed to prevent overheating on warm days (University of Minnesota Extension, 2023). That’s the part many gardeners miss with zinnias: these plants love heat, but they hate stagnant humidity around their leaves.
Materials and measurements: a hoop setup that works in real gardens
You can spend a lot on elaborate kits, but zinnias don’t require it. What matters is stable hoops, a breathable cover, and easy access for watering and weeding.
Recommended hoop dimensions for zinnia beds
- Hoop height: 18–24 inches tall for seedlings; plan 30–36 inches if you intend to keep covers on longer (not my preference for zinnias, but useful in bug-heavy areas).
- Hoop spacing: every 3–4 feet so the cover doesn’t sag onto plants.
- Bed width: 3–4 feet is easiest to cover and reach into without stepping in the bed.
Best cover fabrics for zinnias
Use spunbond fabric (often sold as “floating row cover”) rather than plastic. Plastic traps too much heat and condensation—great for tomatoes in a tunnel, not great for zinnias under a low hoop.
| Cover Type | Typical Weight | Temp Gain | Air/Water Permeability | Best Use on Zinnias |
|---|---|---|---|---|
| Lightweight spunbond row cover | 0.5–0.6 oz/yd² | ~2–4°F | High (good breathability) | Seedling protection, insect barrier, early-season boost |
| Medium-weight spunbond row cover | 0.9–1.25 oz/yd² | ~4–6°F | Moderate | Cool springs, windy sites; vent on sunny days |
| Clear plastic (poly) | Varies | High (can exceed 10°F gain) | Low (condensation risk) | Not recommended over zinnias except as temporary cold emergency cover |
| Insect netting (fine mesh) | Varies | Minimal | High | Mid-season pest exclusion with maximum airflow |
The numbers above are typical ranges seen in horticultural practice; the main takeaway is this: for zinnias, you usually want more airflow rather than more warmth.
Simple, sturdy hoop build (step-by-step)
- Cut hoop material: For a 3–4 ft wide bed, cut 10-ft lengths of 9-gauge wire or use 1/2-inch PVC. Wire is faster and less bulky.
- Anchor the ends: Push each end 6–8 inches into the soil. In loose soil, use short rebar stakes as sleeves.
- Add a ridge line (optional but helpful): Run twine or a thin bamboo pole along the top of the hoops to keep fabric from sagging.
- Drape the cover: Leave at least 12 inches of extra fabric on each side so you can seal edges well.
- Seal the edges: Use soil, boards, rocks, or sandbags. Don’t rely on pins alone in windy gardens.
- Create an access side: On one long side, secure loosely with clips so you can lift it for watering/inspection.
Light: how to cover without starving zinnias
Zinnias want full sun—at least 6–8 hours daily. Row cover fabric still lets light through, but it does reduce intensity. Lightweight cover is usually fine in spring; heavier fabric can slow growth if left on too long.
My practical rule: if you can clearly see the plant’s outline through the fabric, the light level is generally acceptable. If it looks like a shadow behind frosted glass, you’re likely reducing light too much for long-term vigor.
Ventilation timing that prevents heat stress
Even in spring, a sunny day can spike temperatures under cover. If outside air hits 75°F and your cover is sealed tight, the inside can run hot enough to wilt tender seedlings.
- Open the cover (at least one side) when daytime highs are above 70–75°F.
- Close it back up in late afternoon if nights will dip below 45°F.
- Remove entirely once plants are sturdy and nights are consistently above 50°F (zinnias cruise at that point).
Row covers are a tool for the shoulder season. If you leave them on into humid early summer, you’re asking for mildew trouble.
Soil: the part row covers can’t compensate for
Zinnias don’t need pampering, but they do need drainage. If your bed stays wet, a cover can actually make things worse by reducing evaporation.
Soil prep that pairs well with hoop protection
- Aim for a loose top 8–10 inches so roots move fast early.
- Mix in compost if your soil is sandy or crusty—about 1–2 inches worked into the top layer.
- Avoid high-nitrogen fresh manure; it can push soft growth that’s more attractive to pests and more prone to flop.
If you can form a ball of soil that stays glued together and feels slick, you’re holding too much clay moisture for early covered beds. In that case, raised rows or a raised bed is your best “row cover accessory.”
Watering under row cover: keep roots moving, keep leaves dry
Row covers change watering behavior. You don’t feel wind drying the bed, you don’t see the soil surface as easily, and you can accidentally under-water (or over-water) because you assume the cover is doing something magical.
How much water zinnias need in the hoop stage
After sowing, keep the top layer evenly moist until germination. Once seedlings are up, shift to deeper watering.
- Seed stage: Light moisture daily if the top 1/2 inch dries out.
- Seedlings (2–4 true leaves): Water when the top 1 inch is dry; aim for about 1 inch of water per week total (rain + irrigation), adjusting for heat and soil type.
- Established plants: Still about 1 inch/week, but in hot spells you may need 1.5 inches/week in sandy soil.
For accuracy, use a rain gauge or straight-sided tuna can to measure. Guessing is how you get weak roots and patchy stands.
Best watering method with hoops in place
- Drip line or soaker hose under the cover is the cleanest. Put it down before you install hoops.
- If hand-watering, lift one side and water at soil level. Try not to mist leaves—zinnias prefer dry foliage.
Colorado State University Extension emphasizes that powdery mildew management includes reducing leaf wetness and improving air circulation (Colorado State University Extension Fact Sheet, 2022). That advice starts on day one, even when plants are small.
Feeding: don’t overdo it (especially under cover)
Row covers can speed growth, which tempts gardeners to feed harder. With zinnias, too much nitrogen gives you lush foliage and fewer flowers, plus softer tissue that pests and mildew enjoy.
A practical fertilizing plan
- If you amended with compost: you may not need any fertilizer for the first month.
- Light feeding at 3–4 weeks: Apply a balanced fertilizer like 5-5-5 or 10-10-10 at 1/2 the label rate, scratched into soil and watered in.
- Mid-season boost (optional): If plants are pale and flowering slows, side-dress lightly again.
One of the biggest “hidden problems” under row covers is rapid, tender growth from warm temps plus rich nitrogen—plants look great until the first disease pressure hits.
Common problems row covers help with (and problems they can cause)
Think of covers as a trade: you gain warmth and exclusion, but you risk humidity and overheating.
“Row covers are excellent for early-season protection, but they must be managed—vented on warm days and removed when crops need pollination or improved airflow.” — University of Minnesota Extension (2023)
Pests: what to expect in real gardens
- Cutworms: Covers help only if edges are sealed. If cutworms are already in the soil, covers won’t stop them. Use collars (cardboard tubes) around seedlings for the first 10–14 days.
- Flea beetles/leafhoppers: Covers can significantly reduce early feeding and disease transmission by excluding insects.
- Rabbits: A well-sealed cover discourages browsing, but persistent rabbits may push under loose edges.
Diseases: powdery mildew and leaf spots
Zinnias are notorious for powdery mildew later in summer. Row covers can reduce early spore splash if they block heavy rain, but they can also increase humidity if left sealed too long.
- Prevent mildew: remove covers once plants are established; space plants properly (often 9–12 inches apart for bedding types, more for tall cuts); water soil not leaves.
- Choose resistant varieties: It’s not cheating; it’s smart gardening.
Troubleshooting: symptoms you’ll actually see (and what to do)
Here are the common “something’s off” moments with hoop-covered zinnias, with direct fixes.
Symptom: Seedlings are leggy and leaning
- Likely causes: cover too heavy/dim, not enough sun hours, overly warm conditions with low light, crowding.
- Fix: switch to lightweight fabric (0.5–0.6 oz/yd²), vent daily, thin seedlings, and confirm you’re getting 6–8 hours of sun.
Symptom: Leaves look cooked or seedlings wilt midday (even when soil is moist)
- Likely causes: overheating under sealed cover.
- Fix: open the cover when temps exceed 70–75°F; prop one side up with a board for airflow; remove cover entirely during heat waves.
Symptom: Seedlings disappear or are clipped at the base
- Likely causes: cutworms or earwigs; less commonly birds pulling seedlings.
- Fix: install collars; check at dusk with a flashlight; keep bed edges weed-free; seal row cover edges tightly with soil or sandbags.
Symptom: White powder on leaves (especially lower leaves)
- Likely causes: powdery mildew promoted by humidity and poor airflow.
- Fix: remove covers; thin for airflow; water early at the soil line; remove worst leaves; consider a labeled fungicide if it’s spreading fast and you’re trying to save a display planting.
Symptom: Yellowing leaves and slow growth
- Likely causes: cold, waterlogged soil; nutrient tie-up; underfeeding in very sandy beds.
- Fix: check drainage; water less often but deeper; when temps stabilize above 50°F nights, apply a light balanced feeding at 1/2 rate.
Three real-world setups (and what I’d do differently in each)
Gardens aren’t uniform. Here are common scenarios and the row-cover approach that works without creating new headaches.
Scenario 1: Cold spring nights and impatient gardener (direct sow)
If your last frost date is approaching but nights still drop to 40–45°F, direct-sown zinnias can sit and sulk. A lightweight row cover can warm the soil enough to speed germination and early growth.
- Setup: 18–24 inch hoops, lightweight fabric, edges sealed tight.
- Timing: sow when soil is trending warmer; cover immediately after sowing.
- Management: vent on sunny days; remove once seedlings have 2–3 sets of true leaves and nights stay above 50°F.
This is where covers shine: you’re not trying to grow zinnias in winter—you’re smoothing out the cold swings so they don’t stall.
Scenario 2: Windy, exposed bed that shreds seedlings
Wind doesn’t just break stems—it desiccates seedlings fast. A row cover acts like a windbreak while still letting rain and light through.
- Setup: hoops every 3 feet, ridge line twine to prevent fabric slap, sandbags along edges.
- Watering: check moisture more often; wind dries soil outside the cover, but inside can stay steadier.
- Extra tip: don’t let fabric touch seedlings repeatedly—abrasion can stunt them. Add hoops or a ridge line.
Scenario 3: Heavy insect pressure (leafhoppers, flea beetles) early season
If you’ve had zinnia leaves stippled, distorted, or generally “beat up” early, insect exclusion can make a visible difference. The key is sealing.
- Setup: lightweight row cover or insect netting, edges buried or sandbagged.
- Inspection routine: lift the cover every 3–4 days to check for trapped pests or weed explosions.
- Transition: once plants are vigorous, switch to insect netting for airflow if you still need exclusion.
If you trap pests inside (it happens), you’ve built them a private dining room. That’s why quick inspections matter.
Method comparison: hoops + row cover vs no cover (with practical numbers)
Here’s a grounded comparison based on typical home-garden results and what the materials physically do. Your exact results will vary with weather, but the trade-offs are consistent.
| Factor | No Cover | Hoops + Lightweight Row Cover | What It Means for Your Zinnias |
|---|---|---|---|
| Nighttime protection | None | ~2–4°F warmer | Less stalling after chilly nights; safer earlier sowing |
| Wind exposure | Full | Greatly reduced | Fewer snapped seedlings; steadier moisture |
| Insect access | Open buffet | Reduced if edges sealed | Cleaner early leaves, less stress during establishment |
| Overheating risk | Low | Moderate on sunny days | Requires venting above ~70–75°F |
| Humidity around foliage | Ambient | Higher if left sealed | Can worsen mildew if used too long |
Practical maintenance: what to do weekly so covers don’t backfire
Row covers are low-tech, but they’re not “set it and forget it.” A 5-minute routine saves a lot of frustration.
- Twice a week: check that edges are still sealed and fabric isn’t rubbing plants.
- After windy days: re-anchor corners; wind finds the weak spot every time.
- After heavy rain: lift and shake off pooled water; sagging fabric can press onto seedlings.
- Every 3–4 days: inspect for weeds—covers create a cozy germination environment for them too.
When to remove the row cover (and what to do next)
For zinnias, the best row cover is usually a temporary one. Once plants are growing steadily and the weather is warm, your goal shifts to airflow and sun.
- Remove covers when nights are consistently above 50°F and plants are no longer fragile (usually 4–6 inches tall with several true leaves).
- Switch to insect netting only if you have a known pest issue and you can keep it airy and lifted off foliage.
- Mulch lightly (optional) with fine mulch or compost to reduce soil splash, but don’t pile mulch against stems.
From there, zinnias mostly want the basics done well: sun, consistent deep watering, reasonable spacing, and a light hand with fertilizer. If you keep those steady, your hoops will feel like a smart early-season assist—not a complicated project you regret starting.
And the best part: once you’ve built a set of hoops that fit your bed, they’ll work year after year—not just for zinnias, but for lettuce in spring, basil in a cool spell, or protecting young transplants from a surprise cold night. That’s the kind of garden gear that pays for itself in saved plants and earlier color.