10 Garden Hacks for Garden Hose Management
The most common hose mistake I see isn’t buying the “wrong” hose—it’s storing a perfectly good hose in a way that quietly destroys it. Leave a garden hose in the sun, kinked in a tight loop, and you’re basically pre-cracking the rubber and weakening the reinforcement. Then one day it “randomly” bursts right when you’re halfway through watering tomatoes.
Good hose management isn’t about being tidy for tidy’s sake. It saves water, prevents trips, speeds up watering by minutes every time, and can easily add years to the life of a $30–$80 hose. Here are 10 hacks I’ve used (and seen other gardeners swear by) that make hoses behave.
Set Up a System That Prevents Kinks and Tangled Meltdowns
1) Store It the “Big Loop” Way (Your Hose Wants a 24–30 Inch Coil)
Most hose kinks happen because the coil diameter is too small, forcing the hose to bend tighter than it wants. Aim for coils roughly 24–30 inches across (about the size of a hula hoop), which keeps the inner liner from folding and flattening. If you’re using a wall hook, mount it high enough that the hose hangs in big loops, not tight curls.
Example: On a 50-ft, 5/8-inch hose at a community garden, switching from a tiny hook to a wide hose hanger reduced kinks so much that watering dropped from ~12 minutes to ~8 minutes because the nozzle stopped sputtering every few steps.
2) Use the “Figure-8” Wrap for Long Hoses (Especially 75–100 ft)
If you’ve ever fought a 100-ft hose that twists into a braid, switch to a figure-8 wrap. Alternate loops left and right around your forearms or two stakes; it cancels out twist instead of storing it up like a spring. It takes an extra 20 seconds to wrap but saves you five minutes of untangling next time.
DIY version: Push two 18-inch pieces of rebar into the ground about 18 inches apart and figure-8 around them. Total cost: roughly $10–$15 depending on rebar pricing.
3) Add a Hose Swivel (A $10 Part That Stops the “Twist Knot”)
Most twist tangles start at the spigot end where the hose can’t rotate. A brass or stainless swivel connector (often $8–$15) lets the hose rotate freely while you walk and water, preventing those corkscrew knots that show up midway through a session. Install it once and forget it—especially helpful if you drag the hose around beds and corners.
Real-world scenario: If you water around raised beds with sharp turns, the swivel reduces the torque that builds up as the hose snags a corner and then “unwinds” into a kink.
Make Connections Leak-Free (So You’re Not Watering the Path)
4) Fix Drips with One Wrap of Thread Seal Tape + a Fresh Washer
For slow leaks at threaded connections, skip over-tightening (that deforms fittings). Replace the rubber washer in the female end (a 10-pack is usually $3–$6) and add 2–3 wraps of PTFE thread seal tape on the male threads if the leak is at the spigot adapter. Hand-tighten, then go another quarter turn with pliers—no more.
Example: A neighbor’s spigot leaked into a puddle every watering day; a 50-cent washer fixed it immediately and stopped the constant muddy patch that made the hose extra dirty and abrasive.
5) Standardize Your “Quick-Connect” Ends (And Label by Zone)
Quick-connects are a lifesaver only if you commit to one system. Put the same brand/style on every hose end, nozzle, sprinkler, and wand so you’re not mixing incompatible fittings. Then add a strip of colored electrical tape (about $1 per roll) near each hose end—blue for front yard, green for veggie patch, red for greenhouse—so the right hose goes to the right place automatically.
Case example: In a two-hose setup (one for lawn sprinklers, one for hand watering), color-coding prevents grabbing the “sprinkler hose” that always has a timer attached when you just need a nozzle for spot watering.
6) Install a Y-Splitter + Shutoff Valves to Stop Running Back to the Spigot
A brass Y-splitter at the spigot (typically $12–$25) turns one faucet into two lines—perfect for leaving a timer on one side and a hand-watering hose on the other. Choose one with individual shutoff valves, so you can turn off flow right at the splitter when swapping attachments. This reduces pressure shock and makes leaks easier to isolate.
Specific setup: Put a timer on one leg for drip irrigation, and keep a 25-ft hose with a spray nozzle on the other for quick jobs. You’ll stop disconnecting and reconnecting everything (which wears washers faster).
Prevent Damage from Sun, Heat, and Pressure
7) Keep Hoses Out of Full Sun (UV Damage is Real—Use Shade or a Cover)
UV exposure breaks down hose materials over time, especially cheaper vinyl. If your hose sits in direct sun, move the hanger to the north/east side of a shed, or cover the coil with a simple canvas tote or a purpose-made reel cover. Even shifting storage into shade can slow cracking and stiffening dramatically.
Expert-backed note: Extension services consistently recommend storing hoses out of sun and draining them after use to prolong life and reduce failures. Oregon State University Extension (2013) specifically notes draining and proper storage as basic maintenance to extend garden hose lifespan.
“Drain hoses after use and store them out of the sun to reduce deterioration and extend their service life.” — Oregon State University Extension, 2013
8) Add a Pressure Regulator for Drip Lines (25 PSI is the Sweet Spot)
If you use a hose to feed drip irrigation, don’t run full household pressure into it. Many drip systems are designed for around 20–30 PSI; a simple inline regulator (often $10–$20) protects fittings from blowing off and reduces annoying leaks at emitters. Pair it with a filter if you’re on well water or have sediment.
Specific data: A common home spigot can deliver 40–60 PSI; stepping down to 25 PSI reduces stress on poly tubing and barbed fittings. The University of California Agriculture and Natural Resources notes drip systems typically operate at lower pressures than standard household lines (UC ANR, 2018).
9) Bleed Pressure Before Coiling (Prevents “Ballooning” and Surprise Sprays)
Before you wrap up, shut the spigot, then squeeze the nozzle trigger to release line pressure. This takes 5 seconds and prevents the hose from staying pressurized in the sun, which can accelerate wear and occasionally cause a fitting to pop off later. It also makes the hose easier to coil because it’s not stiff with trapped pressure.
Example: In hot weather (90°F+), a pressurized hose left on a patio can feel noticeably firmer; bleeding it makes coiling smoother and reduces that “whip” when you disconnect.
Make Hose Storage Faster (So You Actually Do It)
10) Build a DIY “No-Kink” Hose Parking Spot (Under $25)
If your hose always ends up in a heap, give it a dedicated parking spot that’s easier than tossing it on the ground. A simple DIY post-and-hook setup works: set a 4x4 post (or a metal T-post) near the spigot, attach a wide hose hanger, and add a second lower hook for the nozzle end so it’s off the soil. Expect roughly $20–$25 in parts if you already have screws and a level.
Case example: In a narrow side yard, mounting the hanger on a post (instead of the fence) keeps the hose from rubbing against boards and snagging on gate hardware. It also keeps the walkway clear, reducing trip hazards.
Quick Comparison: Storage Methods That Actually Reduce Kinks
| Storage method | Best for | Kink prevention | Typical cost | Downside |
|---|---|---|---|---|
| Wide wall hanger (24–30" loops) | 25–75 ft hoses, everyday use | High | $10–$25 | Needs wall space; hose is still exposed unless covered |
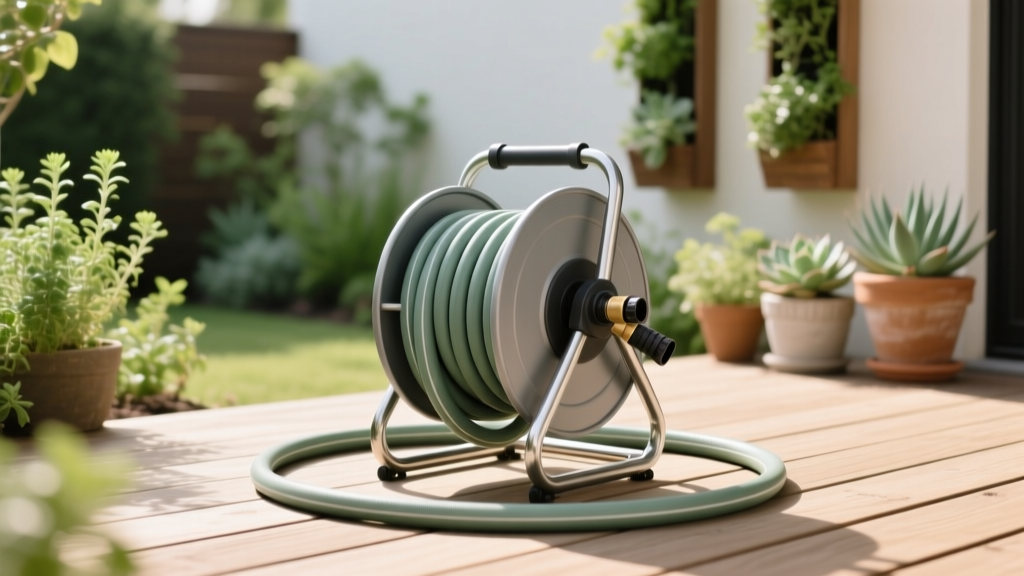
| Hose reel (manual) | 50–100 ft hoses, neat storage | Medium–High | $40–$120 | Cheaper reels can bind; dragging hose off at an angle can kink |
| Figure-8 wrap on stakes | 75–150 ft hoses, twist-prone setups | Very high | $10–$15 DIY | Takes a little practice; not as “pretty” as a reel |
| Coiled “pile on ground” | Temporary use only | Low | $0 | Kinks, UV exposure, trip hazard, faster wear |
Three Real-World Hose Setups (Steal These)
Scenario 1: Small patio garden with containers (fast, tidy watering)
Use a 25-ft lightweight hose, a swivel connector at the spigot, and a quick-connect spray nozzle. Mount a wide hanger about 48–60 inches high so the hose makes big loops and stays off the ground. Add a small bucket near the hanger to hold extra washers, a roll of PTFE tape, and a spare quick-connect—tiny kit, huge time saver.
Scenario 2: Vegetable beds + drip irrigation (no leaks, no blowouts)
Install a brass Y-splitter at the spigot: one leg feeds your drip line with a filter + 25 PSI regulator, the other leg is your hand-watering hose. Label the drip leg with tape so you don’t accidentally blast it with full pressure by bypassing the regulator. If you run 50–100 ft to the garden, store that long supply hose figure-8 style to prevent twist buildup.
Scenario 3: Big yard with a 100-ft hose (reduce drag and damage)
Instead of one monster run from a single spigot, consider splitting your yard into two watering “zones” with two shorter hoses (like two 50-ft hoses) stored at two points. Yes, it costs more upfront (maybe $60–$140 total depending on quality), but you’ll drag less hose over rough areas, kink less often, and spend less time wrestling tangles. If a second spigot isn’t an option, place a hose reel mid-yard and keep the supply run straight along a fence line.
A Few Extra Micro-Hacks (Because the Little Stuff Adds Up)
Keep the nozzle end clean: When the nozzle sits on soil, grit gets into the threads and quick-connects. Hanging the nozzle end on a low hook keeps mud out and extends washer life.
Winterize in 2 minutes: Before first freeze, disconnect hoses, drain them fully, and store where they won’t freeze solid. Frozen water expands and can damage fittings; it’s one of those “it worked for years until it didn’t” problems.
Don’t over-tighten plastic: Plastic quick-connects are fine for light duty, but over-tightening cracks them. Hand-tight plus a gentle snug is plenty—if it leaks, fix the washer instead of cranking harder.
Buy one repair kit instead of a new hose: A basic hose repair kit (usually $6–$12) can replace a crushed end or a split near the fitting. If your leak is within the first 12 inches, cut out the bad section and clamp on a new end—cheaper than replacing a whole 50-ft hose.
Once you’ve got a storage method that prevents kinks, a connection setup that doesn’t drip, and a pressure plan that doesn’t stress your fittings, hoses stop being that daily annoyance. They become what they’re supposed to be: a tool you grab, use, and put away in under a minute—without the wrestling match.
Sources: Oregon State University Extension (2013); University of California Agriculture and Natural Resources, Drip Irrigation basics and operating pressure guidance (2018).