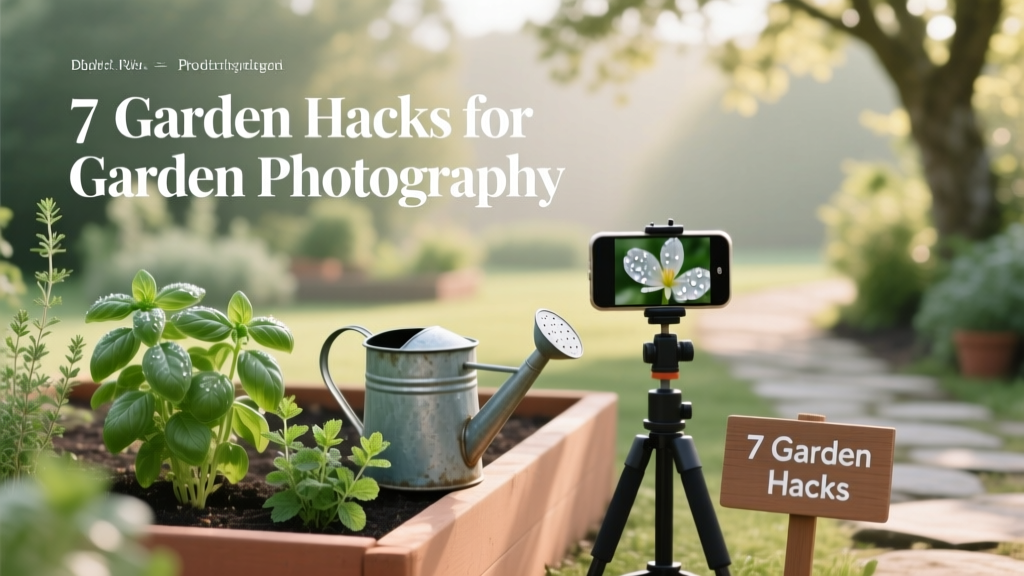
7 Garden Hacks for Garden Photography
The most common mistake in garden photos isn’t shaky hands or a “bad camera”—it’s midday sun. That bright noon light makes petals look washed out, throws harsh shadows across leaves, and turns every dew drop into a blown-out white spot. If you’ve ever snapped what looked like a dreamy dahlia in person and got a flat, crunchy-looking photo instead, timing and light control—not gear—are what you were missing.
Below are seven garden-photo hacks I use constantly (and share with friends who don’t want to buy a whole studio). They’re grouped by what actually causes problems out in the yard: light, wind, background clutter, and scale.
Light Control Hacks (Because Your Camera Can’t “See” Like Your Eyes)
1) Shoot in the “soft-light window” (or fake it with a $1 diffuser)
For most gardens, your best light is within 60–90 minutes after sunrise or 60–90 minutes before sunset. Colors saturate, shadows soften, and you’ll spend way less time editing. If you can’t shoot then, create shade: stretch a white pillowcase or sheer curtain between two stakes as a quick diffuser.
Example: At 1:00 p.m., your zinnia bed looks harsh. Clip a white pillowcase to two bamboo canes with clothespins (often $1–$3 total if you thrift it), hold it on the sun side, and you’ll get petal detail back immediately.
2) Use a “bounce card” to fill shadows (DIY: foil + cardboard)
Harsh contrast is what makes leafy greens look like a dark blob. A simple reflector lifts the shadows without flash: use a 12" x 12" square of white foam board, or wrap cardboard in aluminum foil (shiny side out) to bounce light into the plant’s shaded side.
Example: You’re photographing a tomato flower cluster tucked under foliage. Place your foil-card about 8–12 inches below the cluster and you’ll reveal the yellow petals and fuzzy stems—without changing the scene.
3) Lock your exposure with a gray card (or a coffee filter hack)
Garden scenes fool phone cameras because there’s lots of bright sky and dark mulch in one frame. If your phone allows it, tap-and-hold to AE/AF lock on the bloom itself. For more consistent color, shoot one frame with a cheap gray card ($6–$10) in the same light; later you can color-correct everything to that reference.
DIY alternative: A plain white paper coffee filter held in the same light can work as a quick “white reference” in a pinch—especially helpful on overcast days when everything turns blue-gray.
Case example: A gardener photographing white hydrangeas kept getting grayish blooms. After locking exposure on the petals (not the whole shrub), the whites stayed clean and the leaves stopped turning neon.
Stability & Sharpness Hacks (Wind Is Your Real Opponent)
4) Clamp the stem gently to stop wind blur (clothespins beat fancy gear)
Even a light breeze can blur a flower at close range, especially for macro shots. The hack: stabilize the subject, not just the camera. Use a wooden clothespin clipped to a thin stake, and lightly pinch the stem below the bloom (never on the petals). It’s quick, cheap, and less obvious than holding the plant with your hand.
Example: You’re shooting a poppy that won’t stop bobbing. Push a stake into the soil 3–4 inches away, clip the stem with a clothespin, and you’ll get a crisp photo without waiting for the wind to die.
5) Use a “tripod substitute” that’s already in your shed
If you don’t want to buy a tripod, you can still get stable shots. Set your phone on a 5-gallon bucket flipped upside down, a potting bench, or a stack of pavers. For low angles, a beanbag or bag of potting mix works as a surprisingly steady cradle.
Cost comparison: A basic phone tripod is often $20–$40. A DIY rest using what you already own is $0—and for garden-level shots, it’s often more stable than a cheap tripod with wobbly legs.
Scenario: You’re documenting seedling progress weekly. Put the seedling tray on the same bench, mark a spot with tape, and rest the phone on a small box at the same height each time for consistent before/after frames.
Composition Hacks (Make the Flower Look Like the Star, Not the Mess Around It)
6) Create an instant “clean background” with a $2 board (or a mulch bag)
Background clutter is the #1 reason garden photos look amateur—hoses, fences, bright tools, and random leaves steal attention. Keep a 20" x 30" foam board in black and white (or paint one side of scrap cardboard). Hold it 12–24 inches behind the bloom to make the subject pop, especially for small flowers.
DIY alternative: The inside of a flattened potting soil bag (often matte black) makes a great background in a pinch. It’s free and surprisingly non-reflective.
Case example: A gardener trying to photograph orchids on a messy patio swapped in a black foam board behind the blooms. The flowers suddenly looked like a catalog shot—without moving a single pot.
7) Use the “three-angle rule” for quick, useful garden documentation
If you only take one photo, you’ll miss the detail you need later. Instead, take three angles every time: (1) wide shot showing the plant in context, (2) mid shot showing the full plant or cluster, and (3) close-up of leaf texture, bloom center, or pest damage. It takes 30–45 seconds and makes your photos useful for planning, sharing, and troubleshooting.
Example: When a squash plant starts looking mottled, a close-up of the leaf plus a wide shot of spacing and watering setup makes it much easier to diagnose later (or get help from a local garden group).
Quick Comparisons (So You Don’t Overspend)
Here’s a simple comparison of common garden photo lighting fixes—what they cost and when they work best.
| Fix | Best for | Typical cost | Fast setup time | Downside |
|---|---|---|---|---|
| White sheet/pillowcase diffuser | Midday sun on flowers, reducing glare | $0–$5 | 1–2 minutes | Acts like a sail in wind |
| Foam board (white/black) | Clean background or shadow fill | $2–$10 | 30 seconds | Needs one hand (or a clamp) |
| Phone flash | Quick fill in deep shade | $0 | Instant | Can look harsh and reflective on waxy leaves |
| Clip-on LED light | Evening shots, indoor overwintering plants | $10–$25 | 1 minute | Color can look odd if LED is cool-toned |
Real-World Scenarios (Common Garden Photo Problems, Solved Fast)
Scenario 1: You only have time at lunch. Bring a pillowcase diffuser and a black background board. Step into open shade (north side of a building, or under a tree canopy), or create your own shade—your colors will immediately improve.
Scenario 2: You’re trying to capture pollinators. Pick one flower cluster and pre-focus at that distance, then wait. If you shoot during warmer parts of the day (often 10 a.m. to 3 p.m.), you’ll see more insect activity, but you’ll need diffusion or shade to avoid harsh light on wings.
Scenario 3: You’re documenting a pest or disease for ID help. Use the three-angle rule, but add one more: include a size reference like a coin or your pruner handle. Extension educators often recommend clear, close images plus context for accurate diagnosis (corners of leaves, stems, and the overall plant condition matter as much as the “spot”).
Insider Notes That Make These Hacks Work Even Better
Two small details make a big difference: distance and patience. When you place a background board, keep it 12–24 inches behind the bloom so it blurs more (especially on phones that simulate portrait blur). And when you stabilize a stem, clamp it low and gently—your goal is “less movement,” not forcing the plant into a pose.
Also, be realistic about wind. Leaves can flutter even when flowers look still, and that motion is what smears detail. A simple wind block—your body, a board, or even a wheelbarrow placed upwind—can calm the scene enough to get a sharp shot.
“The quality of light is often more important than the quantity—open shade or diffused light can reveal color and texture that harsh sun hides.” — University Extension photography guidance for field and plant documentation (2019)
That emphasis on light quality shows up across plant and field documentation advice: diffused light reduces glare and makes features easier to see. It’s the same reason many extension services recommend avoiding harsh midday sun when photographing plants for diagnostics and identification.
For reference, plant diagnostics resources commonly stress that multiple images (close-up and whole plant) improve identification accuracy—because symptoms and context both matter. See: University of Minnesota Extension (2020) and Penn State Extension (2018) for practical guidance on taking usable plant problem photos.
If you try just one hack this week, make it the diffuser. If you try two, add the background board. Those two together solve the majority of “Why doesn’t this look like it does in real life?” garden photo frustration—without buying a new phone or camera.
And the best part: once you keep a clothespin, a stake, and a folded board in your garden tote, you’ll start taking better photos simply because it’s easy. The garden changes fast—blooms open, pests appear, weather shifts—and quick, repeatable photo habits beat occasional “perfect” photo sessions every time.