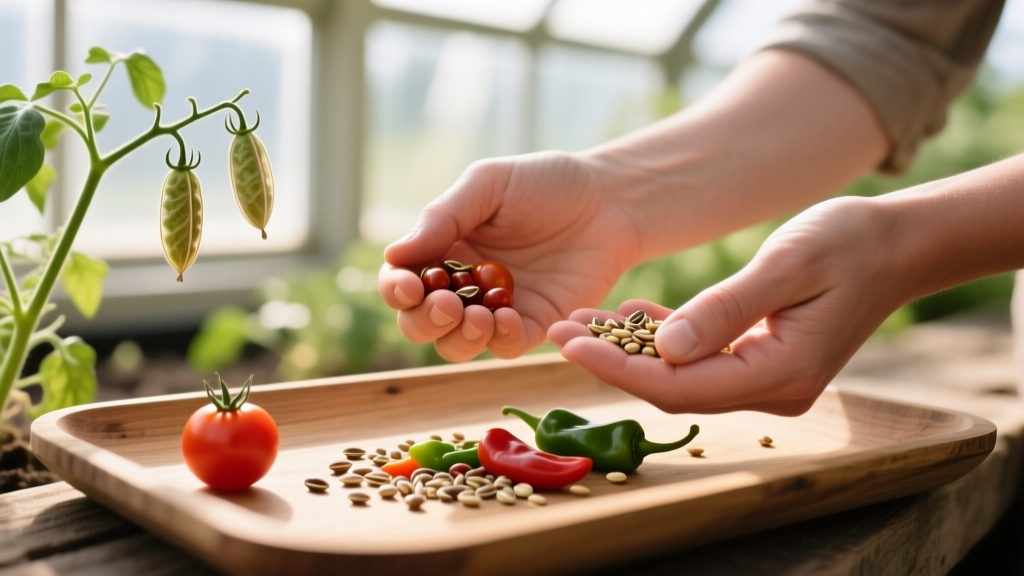
Seed Saving Guide: How to Harvest and Store Heirloom Vegetable Seeds for Next Year
Why Save Seeds?
Seed saving connects you to a 10,000-year tradition of farmers selecting the best plants for their local conditions. Over generations, saved seeds adapt to your specific microclimate, soil, and pest pressures — producing plants that outperform any commercial variety in your garden. Plus, you'll never spend another dollar on seeds.
Key Concepts Before You Start
Open-Pollinated vs Hybrid
Only save seeds from open-pollinated (OP) or heirloom varieties. Hybrids (F1) produce unpredictable offspring. Check seed packets — if it says "hybrid" or "F1," don't save those seeds.
Cross-Pollination Risk
Some vegetables cross-pollinate with related species, producing unexpected offspring. This is why isolation distances matter. If you grow zucchini and pumpkins (same species: Cucurbita pepo), they'll cross — and next year's "zucchini" might look like a pumpkin.
Easy Seeds to Save (Beginner Level)
Tomatoes — Self-pollinating, no isolation needed
- Choose fully ripe, disease-free fruits from your healthiest plants
- Squeeze seeds and gel into a jar, add equal water
- Cover loosely, let ferment 2-4 days at room temperature (kills seed-borne diseases)
- When mold forms on top, add water and swirl — good seeds sink, gel and bad seeds float
- Pour off floating debris, rinse seeds in a fine strainer
- Spread on coffee filter or plate to dry (not paper towel — seeds stick)
- Dry 1-2 weeks until seeds snap when bent
Viability: 4-6 years. Seeds per fruit: 50-200.
Lettuce — Self-pollinating, no isolation needed
- Let your best-tasting plant bolt (send up a flower stalk)
- Flowers mature into seed heads over 2-3 weeks
- Harvest when most flowers have turned to fluffy seed heads
- Cut the entire stalk into a paper bag
- Hang upside down in a dry, ventilated area for 1 week
- Shake bag vigorously — seeds fall out
- Winnow by pouring between two bowls in a light breeze
Viability: 3-5 years. Seeds per plant: 10,000+.
Beans and Peas — Self-pollinating, no isolation needed
- Leave pods on the plant until completely dry and brown
- Harvest before they split open and scatter
- Shell by hand or thresh by placing in a bag and walking on them
- Winnow by pouring between bowls in wind
- Dry on a screen for another week before storing
Viability: 3-5 years. Seeds per pod: 4-8.
Peppers — Mostly self-pollinating, 100ft isolation ideal
- Choose fully colored, ripe peppers from healthy plants
- Cut open and scrape seeds onto a plate
- Dry at room temperature for 1-2 weeks
- Seeds are ready when they break rather than bend
- Wear gloves when handling hot pepper seeds!
Viability: 2-4 years. Seeds per pepper: 50-200.
Intermediate Seeds to Save
Cucumbers — Insect-pollinated, 800ft isolation needed
- Leave one fruit on the vine until it turns yellow/orange and softens completely
- Cut open, scoop seeds and pulp into a jar
- Ferment 1-3 days like tomatoes
- Rinse, dry on a screen for 2 weeks
Squash and Pumpkins — Insect-pollinated, 800ft+ isolation
Critical: Different squash varieties within the same species WILL cross. Hand-pollinate if growing multiple varieties. Let fruit mature fully past eating stage (hard shell, deep color), then cure 2-3 weeks before extracting seeds.
Carrots — Cross-pollinated, 1/4 mile isolation
Biennial — they flower in their second year. Leave roots in ground (or store in sand in a root cellar and replant in spring). Harvest umbrella-shaped seed heads when they turn brown. Rub between hands to separate seeds.
Seed Storage Best Practices
| Factor | Ideal Condition | Why |
|---|---|---|
| Temperature | 32-41°F (0-5°C) | Cold slows seed metabolism |
| Humidity | Below 40% RH | Moisture triggers premature germination or mold |
| Light | Dark | Light can break dormancy |
| Container | Paper envelope inside airtight jar | Paper absorbs residual moisture |
The 100-Year Seed Storage Trick
Place dried seeds in paper envelopes, then in airtight glass jars with a desiccant packet (silica gel). Store in the back of your refrigerator or freezer. Seeds stored this way can remain viable for decades. Label every envelope with variety name and harvest date.
Viability Testing
Before planting stored seeds, test germination:
- Place 10 seeds on a damp paper towel
- Fold and place in a ziplock bag
- Keep at room temperature for 5-10 days
- Count how many sprouted — that's your germination percentage
- If below 70%, plant more thickly or replace the seed batch
Final Thoughts
Start with tomatoes, beans, and lettuce — the three easiest crops for seed saving. Within one season, you'll have enough seeds to plant your entire garden and share with neighbors. Over 5-10 years, your locally adapted varieties will outperform anything you can buy.