Trellis Options for Climbing Spider Plants
The first time you realize your “simple” spider plant has ideas of its own is usually when a long runner hooks around a curtain tie-back, then another finds the window latch, and suddenly your Chlorophytum comosum looks like it’s trying to leave the pot. I’ve seen them climb lamp cords, drape over aquariums, and tangle into a macramé hanger like a cat in yarn. The surprise is that spider plants aren’t true climbers—no tendrils, no twining stems—but with long, flexible stolons (runners) and a willingness to sprawl, they can be trained onto supports for a dramatic, vertical look.
If your goal is a “climbing” spider plant, the secret is choosing a trellis that supports runners gently, then managing water, light, and feeding so the plant produces sturdy leaves and plenty of pups without turning into a stressed, crispy mess. Below are the trellis options that work in real homes, plus the care details that make the whole setup succeed.
What “climbing” means for a spider plant (and why trellis choice matters)
Spider plants don’t grip like pothos or ivy. They can’t wrap a stem and hold their weight without help. What they can do is:
- Send out runners 12–36 inches long (sometimes longer in bright indoor light).
- Form plantlets (pups) that add weight and pull runners downward unless they’re supported.
- Arch foliage outward 8–18 inches from the crown, depending on variety and light.
So a trellis for a “climbing” spider plant is less about climbing mechanics and more about creating a framework: something to drape runners across, pin them in place, and display plantlets at different heights. You’re basically training a living fountain to become a living wall.
Trellis options that actually work indoors
I’m going to be blunt: the best trellis is the one that matches how you water, where the plant sits, and how often you’re willing to fuss with ties. Here are reliable options, from simplest to most structured.
1) Bamboo fan trellis (the easiest all-around)
A small bamboo fan trellis (typically 12–24 inches tall) is light, inexpensive, and easy to tuck into a pot without cracking it. Runners can be looped and clipped to the slats with soft plant ties.
- Best for: Countertop pots, bright kitchens, plant shelves.
- Works well when: You want a neat shape and don’t mind re-tying runners as they grow.
- Watch out for: Cheap bamboo can mold if the soil stays wet. Keep the potting mix on the dry side of “evenly moist.”
2) Wire hoop or tomato cage (for a “halo” of pups)
A small wire hoop trellis or a mini tomato cage (12–18 inches tall) lets you spiral runners around in a circle. This creates a floating ring of pups—a surprisingly clean look in a sunny window.
- Best for: Plants that already produce lots of runners.
- Works well when: You want to keep pups off the floor and away from pets.
- Watch out for: Metal can rust if constantly wet. Use vinyl-coated wire if possible.
3) Moss pole (better for moisture lovers than for spider plants—use with care)
Moss poles are popular for a reason, but spider plants don’t root into them the way a monstera does. You can still use a moss pole as a “spine” to tie runners to, but don’t expect the plant to attach itself. If you keep the pole wet, be careful not to overwater the pot.
- Best for: Decorative center support in a tall pot.
- Works well when: You’re already good at balancing moisture indoors.
- Watch out for: Overwatering is the fastest route to root issues. Spider plants like a dry-down.
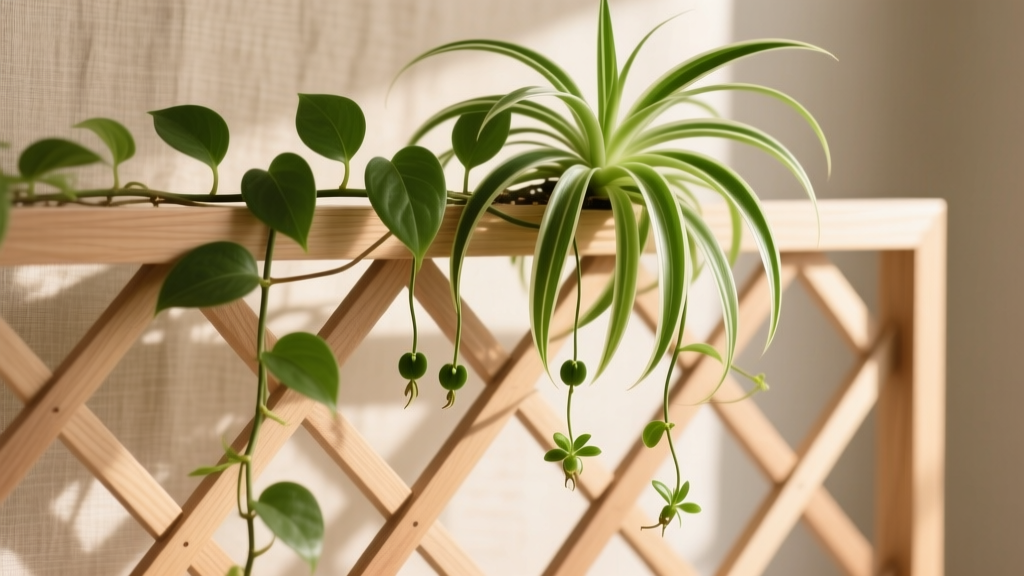
4) Wall-mounted lattice or grid panel (the “living wall” approach)
If you’ve got a bright wall near a window, a wall-mounted grid (metal or wood) gives you a true vertical display. The plant stays in a pot on a shelf or wall bracket, and you guide runners up and sideways using clips.
- Best for: Showpiece plants, stairwell walls, home offices with good light.
- Works well when: You want a big visual impact without repotting into a giant container.
- Watch out for: Water drips. Put a tray under the pot and protect the wall.
5) Tension rod + plant clips (renter-friendly and fast)
A tension rod in a window frame (or between two shelves) paired with orchid clips or soft twist ties is a clever, no-holes solution. Runners can be lifted and clipped as they elongate.
- Best for: Renters, dorms, and anyone allergic to drilling.
- Works well when: Your plant sits right beside a window.
- Watch out for: Don’t force runners into tight bends—creases become weak points.
Comparison table: trellis methods with real-world tradeoffs
| Trellis option | Typical height | Training effort (1–5) | Watering risk | Best display effect |
|---|---|---|---|---|
| Bamboo fan trellis | 12–24 in | 3 | Low–Medium (can mold if soil stays wet) | Neat, upright “bouquet” with draped pups |
| Wire hoop / mini cage | 12–18 in | 2 | Low (good airflow) | Halo/ring of pups, very tidy footprint |
| Moss pole | 18–36 in | 4 | Medium–High (temptation to keep pole wet) | Vertical “totem” with tied runners |
| Wall grid panel | 24–48 in | 3 | Low–Medium (drip management needed) | True living wall, runners trained sideways |
| Tension rod + clips | Variable | 2 | Low | Window-framed “vine” look without hardware |
Training a spider plant onto a trellis (step-by-step)
Spider plant runners are flexible, but they scar if you kink them hard. Think gentle arcs, not sharp angles.
- Install the trellis first. Push bamboo or wire supports in before you water, when mix is lighter and less messy.
- Choose 3–6 runners to train. If you try to tie up every runner, it becomes a snarl. Let the rest drape naturally.
- Use soft ties. Garden Velcro, silicone ties, or cloth strips are best. Avoid thin wire that cuts into tissue.
- Clip at the runner, not the pup. Pups are heavier and can snap off if tugged.
- Reposition every 2–3 weeks. As runners lengthen, adjust the tie points so there’s no tension at one spot.
- Keep a little slack. Leave about 1/2 inch of wiggle room so growth doesn’t constrict.
“Most indoor plant problems aren’t mystery diseases—they’re stress responses to light and watering mismatches.” — Oregon State University Extension (2023)
Watering: the make-or-break factor for trellised spider plants
A trellis setup changes how you notice watering needs. When foliage is spread vertically, the pot may dry faster due to airflow, but it’s also easier to miss early wilting because leaves aren’t all arching from one point.
How often to water (with numbers you can use)
- Water when the top 1–2 inches of mix is dry.
- In a warm, bright room (70–78°F), that’s often every 7–10 days.
- In lower light or cooler rooms (60–68°F), it may be every 10–14 days.
When you water, water thoroughly until you get runoff, then empty the saucer after 10 minutes. Spider plants tolerate occasional dryness better than they tolerate a soggy pot.
Water quality matters more than people think
Spider plants are famous for brown tips, and salts/fluoride can be part of that story. The University of Florida IFAS notes spider plants can show leaf tip burn from soluble salts and suggests using quality water and leaching periodically (UF/IFAS Extension Publication, 2022). If your tap water is hard, use:
- Filtered water, or
- Rainwater, or
- Tap water left out for 24 hours (helps with chlorine; doesn’t remove minerals, but it’s still a small improvement).
Leaching tip: Every 8–12 weeks, run 2–3 times the pot volume of water through the mix (for a 6-inch pot, roughly 6–8 cups of water in total, applied slowly). This helps flush salts that contribute to tip burn.
Soil and potting: stable roots = stronger runners
Trellising adds leverage. If the pot is too small or the mix stays wet, the plant wobbles and stress shows up as limp leaves and fewer pups.
Potting mix recipe that performs indoors
A practical blend:
- 2 parts quality indoor potting mix
- 1 part perlite or pumice (for airflow)
- 1/2 part fine orchid bark (optional, improves structure)
Aim for a pot with drainage holes. For trellised displays, I like a heavier pot (ceramic or weighted plastic) so the plant doesn’t tip as runners get long.
Repotting timing and sizing
Spider plants like being slightly snug, but a severely rootbound plant dries too fast and can stop producing attractive foliage. Repot when roots circle the pot densely or when water runs straight through.
- Best time: spring to early summer.
- Step up only 1–2 inches in pot diameter (for example, 6-inch to 8-inch).
- After repotting, hold off on fertilizer for 3–4 weeks.
Light: the difference between “floppy” and “architectural”
For a trellis-trained spider plant, light is what makes runners long enough to style, while keeping leaves firm and colorful.
Best light placement
- Bright, indirect light near an east or north window is ideal.
- A few hours of gentle morning sun can be beneficial.
- Hot afternoon sun can scorch leaves—especially on a wall grid where foliage is closer to glass.
If you’re using grow lights, place them roughly 12–18 inches above the foliage for many common LED panels, and run them 10–12 hours daily. Adjust based on your specific fixture strength.
Real-world scenario #1: The dim hallway “living wall”
A common case: you mount a grid in a hallway that feels bright to humans but is dim for plants. The spider plant survives, but runners get weak, leaves lose striping, and the whole trellis looks sparse.
- Fix: Add a small grow light on a timer for 10–12 hours/day.
- Result you’re aiming for: Firmer leaves and more frequent runner production within 4–8 weeks.
Feeding: enough to fuel pups, not so much you get brown tips
Spider plants aren’t heavy feeders, but trellis training often encourages you to keep more growth, which means the plant needs steady nutrition.
A workable fertilizing schedule
- Spring through early fall: feed every 4 weeks at 1/4 to 1/2 strength using a balanced houseplant fertilizer (for example, 10-10-10 or similar).
- Late fall and winter: feed every 8–10 weeks, or pause if growth slows.
Colorado State University Extension emphasizes that over-fertilizing houseplants can lead to salt buildup and leaf tip burn (CSU Extension, 2020). If you’re already battling brown tips, reduce fertilizer before you start cutting leaves.
Common problems (and how to fix them without guesswork)
When spider plants are trained vertically, problems can show up differently. Use symptoms, not assumptions.
Troubleshooting: brown leaf tips
- Likely causes: salt buildup, inconsistent watering, low humidity, excess fertilizer, hard water.
- Do this first: Leach the pot with 2–3x pot volume of water, then let it drain fully.
- Adjust: Switch to filtered/rain water for the next 30 days.
- Trim: Snip tips following the natural point, leaving a thin brown edge rather than cutting into green (it looks more natural).
Troubleshooting: limp leaves and a “collapsed” trellis look
- Likely causes: underwatering, rootbound pot, or root stress from overwatering.
- Check: Lift the pot. If it feels very light and the mix is dry 2 inches down, water deeply.
- If soil is wet and leaves still limp: suspect root issues—improve drainage, reduce watering frequency, and consider repotting into a chunkier mix.
Troubleshooting: runners snap or crease
- Likely causes: tying too tightly, forcing sharp bends, or moving the plant frequently.
- Fix: Re-tie with a larger loop and support at multiple points every 6–8 inches along the runner.
- Prevent: Train young, flexible runners; older ones are more brittle.
Troubleshooting: no runners, no pups
- Likely causes: insufficient light, too much nitrogen, pot too large, or the plant is too young/divided recently.
- Fix: Increase light (closer to window or add grow light). Feed lightly (1/4 strength) and avoid high-nitrogen-only products.
- Timing reality: After repotting or dividing, it can take 6–10 weeks to resume runner production.
Troubleshooting: pests hiding in a trellis display
Vertical training creates little hideouts at tie points and where foliage overlaps.
- Spider mites: fine webbing, stippled leaves. Rinse foliage in the sink, then treat with insecticidal soap every 7 days for 3 rounds.
- Mealybugs: cottony clusters at leaf bases. Dab with 70% isopropyl alcohol on a cotton swab, repeat weekly until gone.
- Scale: small brown bumps on leaves. Scrape gently and follow with horticultural oil, keeping the plant out of direct sun during treatment.
Three real-world setups (and what I’d do in each)
Scenario #2: Sunny kitchen window, limited counter space
You want height, not spread. Use a 12–18 inch bamboo fan trellis in a 6–8 inch heavy pot. Train 4–5 runners in gentle arcs upward, clipping them loosely. Water about every 7–10 days in active growth, and leach every 8–12 weeks to prevent tip burn (kitchens often have harder water and more fertilizer “help”).
Scenario #3: Hanging basket that keeps tangling with foot traffic
If runners are getting yanked, stop letting them dangle. Add a mini wire hoop/cage inside the basket and wrap runners around it to create a contained halo. You’ll still get pups, but they’ll sit in a ring instead of a long curtain. Use a lighter feeding schedule—1/4 strength monthly—because hanging baskets dry faster and salts concentrate more quickly.
Scenario #4: Wall grid display in a bright living room (showpiece plant)
Put the pot on a sturdy wall shelf with a waterproof saucer. Install a 24–36 inch grid panel and train runners sideways as well as upward for a fuller look. This is one of the few times I’ll suggest rooting a couple pups in small pots to “fill in” the grid faster: pin a pup against damp mix in a 3–4 inch pot while still attached to the mother plant. Once rooted (usually 2–4 weeks), you can cut the runner and place the baby pot on the shelf to expand the living wall.
Extra tricks that make trellised spider plants look intentional
- Rotate the pot 1/4 turn every 7–14 days so one side doesn’t hog the light.
- Limit the number of pups if you want a clean architectural shape. Too many pups weigh down the design. You can remove and propagate extras.
- Use matching clips (all black or all clear) so the support disappears visually.
- Clean leaves monthly with plain water. Dust reduces photosynthesis and makes striping dull.
A trellis-trained spider plant is part plant care, part gentle choreography. Once you get the watering rhythm and the light level right, the trellis becomes more than a prop—it’s a way to turn those wild runners into a living pattern you can actually enjoy, instead of stepping over them on your way to make coffee.