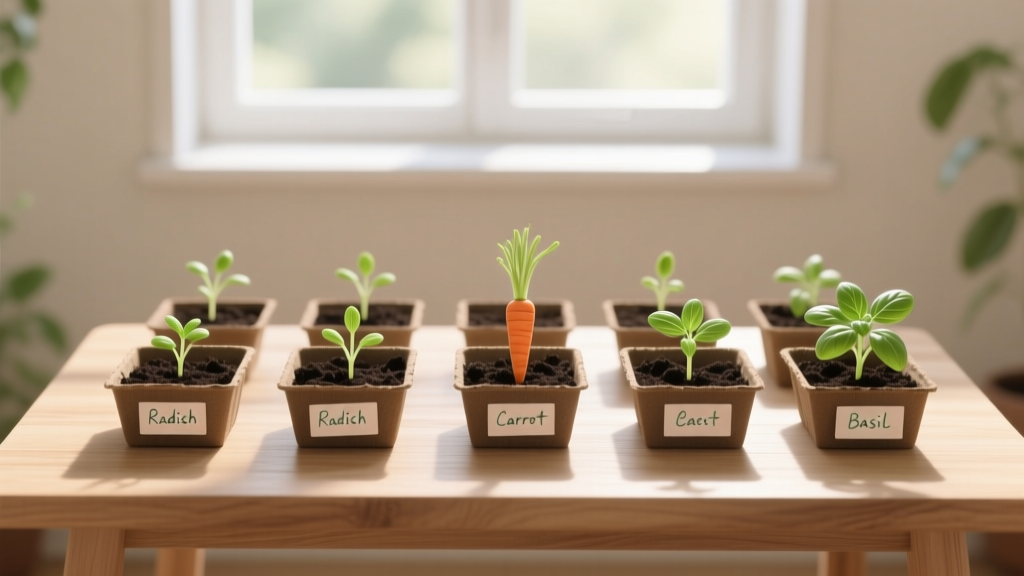
8 Garden Hacks for Seed Germination Rates
The #1 reason “bad seeds” don’t sprout isn’t age—it’s timing. A surprising number of gardeners plant perfectly viable seed into soil that’s either too cold, too wet, or too dry for that specific crop, then blame the packet. Most seed failures are really environment failures, which is great news: you can fix them with a few low-effort hacks that stack the odds in your favor.
Below are eight shortcuts I use (and recommend to friends) when we want faster, more uniform germination—without buying fancy gear. I grouped them by what they solve: waking seeds up, controlling moisture and temperature, and preventing rookie-mistake losses.
Wake-up Tricks: Get Seeds to Start Faster
1) Pre-soak with a “clock,” not a guess
Dry seed coats can slow water uptake, especially for larger seeds. Soak peas, beans, beets, chard, and squash in room-temperature water for 6–12 hours; don’t exceed 24 hours or you risk oxygen deprivation and rot. As a simple rule: if the seed swells noticeably, it’s done—drain and sow immediately.
Real-world example: If your spring peas usually take 10–14 days in chilly beds, an overnight soak plus planting into pre-warmed soil (see Tip #5) often tightens emergence to a more even 7–10 days. Costs: free—just a jar and tap water.
2) Scarify tough-coated seeds with sandpaper (30 seconds that matters)
Some seeds are built to survive: morning glory, sweet peas, nasturtiums, lupine, and many native perennials have coats that resist water. Rub each seed lightly against 220-grit sandpaper for 10–30 seconds until you see a tiny dull spot, then soak for 4–8 hours and sow. You’re not grinding—just creating a “water doorway.”
Scenario: A neighbor’s sweet peas sat in soil for 3 weeks with almost nothing. We scarified a second batch, soaked overnight, and had sprouts in 6 days in the same window box.
3) Use “paper towel + bag” as a viability test before you waste potting mix
If you’re sowing older packets, test first. Put 10 seeds on a damp paper towel, slide into a zip bag, and keep it warm (top of the fridge works) for the crop’s expected germination window (often 3–10 days). If only 5 sprout, you’re sitting at roughly 50% germination—either sow thicker or buy fresh seed.
Money-saving detail: A $6 bag of seed-starting mix disappears fast when you’re filling trays. Testing 10 seeds can save you from dedicating a whole 72-cell tray to duds.
Source: Seed testing methods like this mirror basic home viability checks recommended by extension programs; the general principles align with extension guidance on seed viability and germination testing (e.g., University of Maryland Extension, 2019).
Moisture Control: The Fastest Way to Prevent Rot and Dry-outs
4) Plant by “two widths,” then firm like you mean it
Depth is the sneaky germination killer: too deep and seeds exhaust energy; too shallow and they dry out. A reliable hack is sowing at about 2× the seed’s thickness (not length), then gently firm the soil so the seed has full contact with moist mix. Firming matters as much as depth—air gaps around the seed slow water uptake.
Example: Lettuce is basically surface-sown: press it into the mix and cover with just 1–2 mm of vermiculite. Beans can go 2–3 cm deep depending on soil texture—deeper in sandy soil, shallower in clay.
5) Bottom-water seedlings for 10 minutes, then drain—no more fungus gnat hotels
Top-watering can crust the surface and bounce tiny seeds out of place. Bottom-water by setting trays in a shallow pan with 1–2 cm of water for 10–15 minutes, then remove and let drain fully. You’ll keep the top layer drier (less algae, fewer fungus gnats) while still maintaining consistent moisture at seed level.
Scenario: Starting basil indoors? It’s notorious for damping-off when the surface stays swampy. Bottom-watering plus a light top layer of vermiculite (Tip #6) can noticeably reduce losses in those first 7–14 days.
6) Swap a “mystery humidity dome” for a $4 bag of vermiculite
Humidity domes work, but they also trap excess moisture and can invite damping-off if you don’t vent them. A more forgiving hack is topping seeded trays with 3–6 mm of fine vermiculite: it holds moisture evenly, reduces surface crusting, and still lets air move. It’s especially helpful for slow germinators like peppers and herbs that need steady moisture for 10–21 days.
Cost comparison: Vermiculite typically runs around $4–$8 for a small bag that lasts multiple seasons for home seed starting; a rigid humidity dome is often $8–$15 and doesn’t solve surface crusting.
| Germination helper | Best for | Common mistake | Cost (typical) |
|---|---|---|---|
| Humidity dome | Fast germinators in dry homes | No venting = damping-off risk | $8–$15 |
| Vermiculite top layer (3–6 mm) | Small seeds, slow germinators, crusty surfaces | Using too thick a layer on tiny seeds | $4–$8 |
| Bottom-watering (10–15 min) | Trays/cells; fungus gnat prevention | Leaving trays sitting in water | $0 |
Temperature & Light: Small Tweaks That Double Your Odds
7) Use a heat mat like a “thermostat trick,” not a blanket
Warmth speeds germination—up to a point. Many warm-season crops germinate best when the seed zone stays around 24–29°C (75–85°F) (think peppers and tomatoes), while cool-season crops can sulk or fail when it’s too hot. Put your heat mat on a thermostat, and turn it off as soon as most seeds pop—then move seedlings to bright light to prevent lanky growth.
Case example: A gardener in my local community group couldn’t get peppers to sprout in a 68°F house. Heat mat set to 80°F brought germination from “almost none” to a tray popping steadily within about 10–14 days—and switching the mat off after emergence reduced spindly stems.
Source: Temperature-dependent germination ranges are widely documented by extension resources; for example, Colorado State University Extension discusses how soil temperature strongly affects seed germination timing and success (CSU Extension, 2020).
8) Give light-sensitive seeds what they want (and dark-loving seeds what they don’t)
Some seeds prefer light to germinate (lettuce is the classic), while others do best in darkness. The hack: don’t blindly cover everything. For light-requiring seeds, press into the surface and cover with only a dusting of vermiculite; for dark-preferring seeds, cover properly and consider placing trays under a loose cloth for the first few days.
Real-world example: If your lettuce refuses in summer, it may be heat plus light sensitivity. Keep the medium at 18–21°C (65–70°F), surface-sow, and use a bright window or LED. If you must start lettuce when it’s hot, chill the tray overnight in a cool basement, then return it to light during the day—this “cool cue” can help stubborn batches.
“Temperature and moisture are the two biggest levers you control in germination—get those right, and the seed does the rest.”
—Extension seed-starting guidance theme (various university extension publications)
Bonus: Three Common Scenarios (and the Fast Fix for Each)
These aren’t extra tips—you’ll recognize them as the places the eight hacks pay off immediately.
Scenario A: “My carrots never come up” (the crust + dry top layer problem)
Carrot seed is tiny and slow, which means it’s vulnerable to surface drying and crusting. Use Tip #6: sow shallow, then cover with 3–4 mm vermiculite or sifted compost, and keep the top consistently moist. If you’re direct sowing outdoors, lay a board or burlap over the row for 3–5 days and check daily—remove the cover the moment you see sprouts.
Scenario B: “My beans rot in the ground” (cold soil + over-soak)
Beans hate cold, wet soil. If your nights are still chilly, skip long soaks (Tip #1) and instead wait until soil is reliably warmer—aim for at least 15–16°C (60°F) at planting depth. Plant at the correct depth (Tip #4), firm, and avoid heavy watering right after sowing; the seed should be in moist soil, not a puddle.
Scenario C: “Tomatoes sprout, then collapse” (damping-off chain reaction)
Damping-off often starts with an overly wet surface and poor airflow. Use Tip #5 bottom-watering, plus Tip #6 vermiculite top layer to keep the surface from staying slimy. If you use a dome, vent it daily and remove it as soon as 50–70% of the tray has emerged.
Two DIY Upgrades That Cost Almost Nothing
DIY “mini seed lab” with a takeout container
Clear takeout containers make great germination chambers for the paper towel test (Tip #3) or for hard-to-start seeds. Add a damp towel, space seeds apart, close the lid, and label with date. Check every 24 hours—the moment roots show, move them carefully to mix so they don’t tangle.
DIY row-cover warmth with a $3 painter’s plastic tunnel
If you’re direct sowing outdoors and soil temps are borderline, a simple low tunnel adds a few precious degrees. Bend wire or branches into hoops and clip on clear plastic, leaving small vents so it doesn’t cook on sunny days. This is especially handy for early beets or peas when days are mild but nights still dip; even a small bump of 2–4°F at soil level can change the pace of germination.
Quick-check cheatsheet (so you don’t overthink it)
If you only remember four things, make them these:
Match temperature to the crop (Tip #7), control surface moisture with vermiculite or bottom-watering (Tips #5–#6), plant at the right depth and firm (Tip #4), and test old seed before you commit a whole tray (Tip #3).
Most “germination hacks” are really about consistency—steady moisture, steady warmth, and the right depth. Dial those in, and you’ll stop reseeding the same tray three times. And when a seed packet still doesn’t perform after you’ve controlled the environment? That’s when you can finally blame the seed—confidently, and without wasting a month of growing time.
Sources: Colorado State University Extension (2020) on soil temperature effects on germination; University of Maryland Extension (2019) guidance consistent with home seed viability testing and germination fundamentals.