Building a Cloning Chamber for Succulents
You take a perfect cutting from a jade plant, set it on a shelf, and two weeks later it’s wrinkled like a raisin. Or you try leaf propagation from an echeveria, and the leaf base turns to mush before roots ever show up. Here’s the surprising part: most “failed” succulent cuttings don’t fail because you watered wrong or used the wrong pot—they fail because the air around them was wrong. A simple cloning chamber lets you control humidity, temperature, and light so cuttings root faster with far fewer losses.
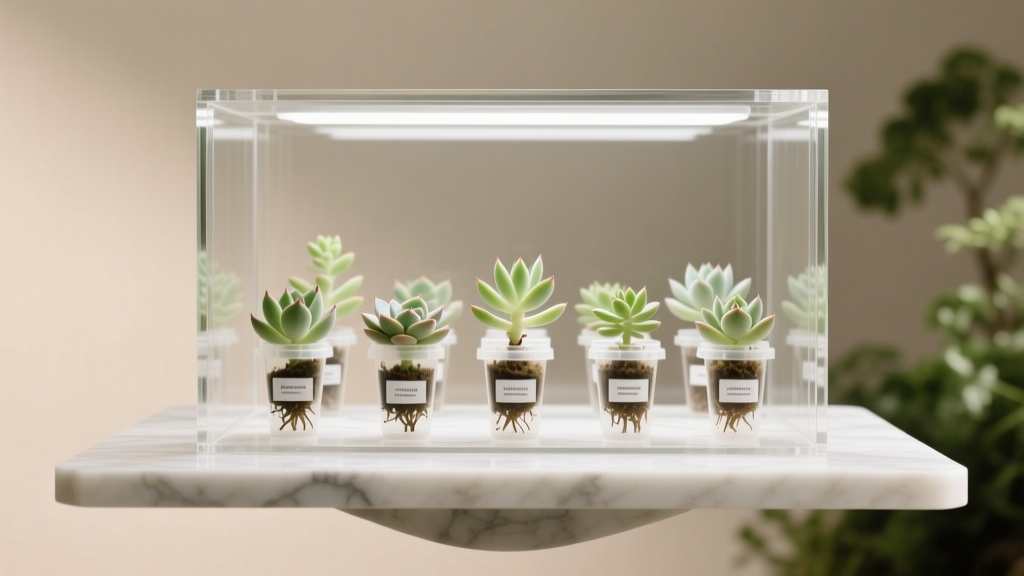
I’ve built chambers out of everything from a clear storage tote to a wire rack wrapped in plastic. The best ones aren’t fancy; they’re consistent. Below is the exact, practical setup I recommend for home gardeners who want predictable results without turning their plant room into a science project.
What a succulent cloning chamber actually does (and what it doesn’t)
A cloning chamber is a small, enclosed space that holds steadier humidity and temperature than the room around it. That matters because fresh cuttings have no roots, so they lose water through their skin faster than they can replace it.
One important correction: a cloning chamber is not a “wet box.” Succulents root best when the air is moderately humid but the rooting medium is only lightly damp—never soggy. If you build a chamber that constantly rains condensation onto your cuttings, you’re building a rot factory.
“Most propagation failures I see are from media kept too wet and from poor air movement—both encourage fungal and bacterial problems.” — University of Minnesota Extension (2023)
Materials and chamber designs that work at home
You can build this with common supplies. Choose a design based on how many cuttings you plan to root at once.
Option A: Clear tote chamber (best for most home gardeners)
- Clear plastic tote with lid: 30–60 qt is a sweet spot for a windowsill or shelf.
- Seedling tray(s) or shallow nursery flats.
- A small wire rack or overturned tray to keep pots off standing water.
- Hygrometer/thermometer (cheap digital is fine).
- LED grow light (if you don’t have bright natural light).
Why clear? You want strong light without opening the lid constantly. Why a lid? You want humidity stability.
Option B: Shelving-rack “tent” (best if you propagate a lot)
- Wire shelf unit (typical: 36 in wide x 14–18 in deep).
- Clear plastic sheeting or a zippered greenhouse cover.
- Clip-on fan (low setting).
- LED shop lights or grow bars.
This approach scales nicely, and airflow is easier to manage, which matters if you’re rooting dozens of cuttings.
Step-by-step: Build the tote cloning chamber
This is the build I’d suggest to a friend who wants high success without fuss.
- Clean everything. Wash the tote, tray, and tools with hot soapy water. If you’ve had rot issues, wipe surfaces with 70% isopropyl alcohol and let air-dry.
- Add a “false floor.” Place a wire rack, inverted tray, or a few upside-down plastic pots in the bottom so your propagation tray sits 1–2 inches above the base.
- Set your trays. Use shallow pots or cell trays filled with your propagation mix (see soil section). Keep cuttings separated so leaves don’t touch—touching traps moisture and spreads rot.
- Install monitoring. Put a small hygrometer/thermometer inside at tray height. You’re aiming for roughly 50–70% relative humidity and 68–78°F (20–26°C).
- Light it properly. If using LEDs, start at 12–16 hours/day. Keep the light 10–16 inches above the tray (depends on fixture strength). Bright shade is better than scorching.
- Vent on purpose. Crack the lid ¼–½ inch or drill a few small holes (about 1/8 inch) near the top edge. Stagnant air is the enemy.
If your chamber fogs up heavily, you’re too wet or too sealed. If your cuttings shrivel fast, you’re too dry or too hot/bright.
Soil: the propagation mix that roots without rotting
For succulent cloning chambers, the most common mistake is using “cactus soil” straight from the bag. Many commercial cactus mixes still hold too much water in a high-humidity enclosure.
Here’s a mix that performs reliably inside a chamber:
- 50% pumice (or perlite if that’s what you can find)
- 30% coco coir or fine pine bark
- 20% sifted potting mix (or composted bark-based mix)
This blend holds a thin film of moisture for new roots but drains fast enough to prevent anaerobic conditions. If you’re rooting thick-stemmed succulents (jade, crassula, kalanchoe), you can bump pumice up to 60–70%.
Use small containers. A 2–3 inch nursery pot dries more predictably than a big pot that stays wet for a week.
Watering: the chamber changes everything
Inside a cloning chamber, you water less than you think. Remember: humidity reduces transpiration. Your job is to keep the rooting medium barely moist, not wet.
How to water freshly set cuttings
- Stem cuttings: Let the cut end callus for 2–7 days (thicker stems = longer). Then insert into barely damp mix. Do not soak.
- Leaf cuttings (echeveria, graptopetalum): Let leaves dry for 2–3 days. Lay on top of the mix. Mist the surface lightly only when it’s bone dry.
A practical schedule that works for many setups: check moisture every 3–4 days. If the top inch is dry and the pot feels very light, add a small drink—think 1–2 tablespoons of water for a 2-inch pot, not a full drench.
University extension guidance on overwatering is consistent across indoor propagation: too much moisture plus poor airflow is the fastest route to rot. Kansas State University Extension emphasizes that succulents require fast-draining media and careful watering to avoid root and stem rot (K-State Research and Extension, 2022).
Humidity targets (and when to adjust)
I aim for 50–70% RH for most succulent cuttings. If you’re rooting very thin-leaved types that shrivel (some sedums), you can push closer to 70–75%, but only if you have airflow and you keep the mix on the dry side.
If condensation beads on leaves daily, drop humidity by venting more. If leaves wrinkle within 48 hours, raise humidity slightly by closing vents or adding a shallow water dish at the bottom (not touching pots).
Light: bright enough to root, gentle enough not to cook
Low light makes weak, slow roots. Harsh light makes cuttings dehydrate and scorch—especially inside clear plastic where heat builds quickly.
- Best window: bright east window or lightly shaded south window.
- With LEDs: run 12–16 hours/day. Keep lights 10–16 inches above foliage and adjust based on plant response.
Temperature matters as much as brightness. Many succulents root fastest around 70–75°F (21–24°C). If your tote sits in direct sun and climbs above 85°F (29°C), expect more rot and dehydration. In hot rooms, move the chamber out of sun and rely on LEDs.
Feeding: when fertilizer helps (and when it backfires)
Fresh cuttings don’t need fertilizer. In fact, fertilizing too early can burn new roots and encourage soft, rot-prone growth.
Use this timing instead:
- Weeks 0–3: no fertilizer.
- After you see roots or new growth: feed at 1/4 strength with a balanced liquid fertilizer (for example, 10-10-10 or 20-20-20) once every 3–4 weeks.
If you’re rooting in a mostly mineral mix (high pumice/perlite), a gentle feed after rooting can help speed establishment. But keep it light—succulents don’t need constant feeding.
Comparison: cloning chamber vs open-air propagation (with real numbers)
The biggest advantage of a chamber is steadier humidity. Here’s how the two approaches typically compare in a normal home (around 35–45% RH) when rooting common succulents like jade, echeveria hybrids, and graptopetalum.
| Propagation method | Typical RH around cutting | Watering frequency | Rooting time (common range) | Rot risk |
|---|---|---|---|---|
| Open-air on a shelf | 35–45% | Every 7–14 days (light watering) | 3–8 weeks | Low to moderate (depends on soil) |
| Cloning chamber (vented tote) | 50–70% | Every 3–7 days (very small amounts) | 2–5 weeks | Moderate (managed with airflow) |
| Fully sealed, no airflow (not recommended) | 75–95% | Often too frequent due to condensation confusion | Unpredictable | High |
Notice the tradeoff: chambers speed rooting, but only if you manage moisture and air exchange. A tote with controlled venting gives you the speed without turning everything into slime.
Common problems (and fixes that actually work)
This is where most chambers succeed or fail. Use symptoms to guide your next move.
Problem: Cuttings shrivel even though the chamber is “humid”
- Symptom: leaves wrinkle, stems look slightly collapsed within a week.
- Likely causes: chamber too hot, light too intense, or humidity lower than you think (cheap hygrometers can be off).
- Fix:
- Move light up by 2–4 inches or reduce photoperiod to 12 hours.
- Keep chamber in 68–78°F range.
- Close vents slightly for 48 hours, then re-open once turgor improves.
- Check that the mix isn’t bone-dry; add 1–2 tablespoons of water to small pots.
Problem: Base turns black or mushy (stem rot)
- Symptom: cutting collapses at soil line; foul smell; tissue looks translucent.
- Likely causes: cutting not callused long enough, medium too wet, no airflow, contaminated tools.
- Fix:
- Remove and discard rotting material (don’t compost indoors).
- Increase ventilation—crack lid ½ inch or add vent holes.
- Switch to a drier mix (increase pumice/perlite to 60–70%).
- Let future cuttings callus longer: 4–7 days for thick stems.
Problem: White fuzzy mold on soil surface
- Symptom: cottony growth on media; cuttings may still look fine initially.
- Likely causes: stagnant air plus organic-heavy mix.
- Fix:
- Scrape off the top ¼ inch of media and replace with pumice.
- Add gentle airflow: open vents or run a small fan outside the tote to circulate room air around it.
- Water less; allow the surface to dry between waterings.
Problem: Leaf props rot at the base before rooting
- Symptom: leaf turns to mush where it touches soil.
- Likely causes: leaf laid on wet media; condensation dripping; too much humidity for that species.
- Fix:
- Lay leaves on dry mix, not damp.
- Vent more and stop misting for a week.
- Elevate the tray so condensation doesn’t pool; wipe lid if it’s raining inside.
Three real-world scenarios (how I’d run the chamber in each)
Different homes and different succulents need different “dial settings.” Here are common cases I see.
Scenario 1: Winter propagation in a dry, heated house
Your indoor humidity is 25–35%, and cuttings desiccate fast. In this case, the chamber is a game changer—but don’t crank humidity and forget airflow.
- Target 60–70% RH.
- Keep chamber away from heating vents; aim for 70–75°F.
- Vent just a little (lid cracked ¼ inch) and open fully for 5 minutes daily to refresh air.
- Water sparingly every 5–7 days depending on pot size.
This is where leaf props often succeed for the first time because they stop shriveling before roots form.
Scenario 2: Summer propagation in a hot room or sunroom
Heat is your enemy. A closed clear tote can spike temperatures quickly, and hot + humid is a fast track to bacteria.
- Keep the chamber out of direct sun; use LEDs instead.
- Vent more aggressively (lid cracked ½ inch or multiple vent holes).
- Keep temps under 85°F (29°C); if needed, run lights at night.
- Use a more mineral mix: 60–70% pumice/perlite.
If your chamber repeatedly overheats, switch to the shelving “tent” with a fan. It’s much more forgiving in summer.
Scenario 3: You’re cloning pricey variegated succulents and can’t afford losses
Variegated plants often have less chlorophyll and can be slower to root. They also scorch more easily. The chamber helps, but precision matters.
- Light: bright but softened—keep LEDs 14–18 inches above and run 14–16 hours.
- Humidity: 55–65% RH to prevent shrivel without inviting rot.
- Water: micro-watering only; avoid wetting stems directly.
- Sanitation: sterilize snips; use fresh mix; don’t reuse trays with old debris.
This setup is where a hygrometer pays for itself. Guessing is expensive when each cutting is a collector plant.
Ongoing care inside the chamber (the weekly rhythm)
Once you build the chamber, success comes from a simple routine.
- Every day: glance at the hygrometer; look for condensation raining on plants; sniff for sour smell (early rot sign).
- Every 3–4 days: check media moisture by lifting pots; remove any leaf litter; rotate tray for even light.
- Weekly: open the chamber fully for 10–15 minutes to exchange air; wipe down pooled moisture; remove any failing cuttings immediately.
Once a cutting has clear resistance when you tug gently—or you see new growth that doesn’t wrinkle—start acclimating it to room air. Open vents wider over 7–10 days. Sudden exposure to dry air is how newly rooted starts crash.
Pest and disease watch: what to look for early
Cloning chambers are cozy not just for plants, but for pests. The good news: enclosed spaces also make problems easier to spot early.
- Fungus gnats: usually a sign the mix is too organic/wet. Increase mineral content and let the surface dry. Yellow sticky cards help catch adults.
- Mealybugs: isolate immediately. Dab with 70% isopropyl alcohol on a cotton swab, then improve airflow and inspect weekly.
- Soft rot: treat as contagious—remove affected material and sanitize trays.
If you’ve struggled with rot repeatedly, rethink your process: longer callusing, drier medium, and more air exchange fix more issues than any spray.
A cloning chamber is really a set of dials—humidity, airflow, temperature, and light. Start in the middle: moderate humidity, bright gentle light, and a gritty mix that dries on schedule. Once you see the first healthy roots and tight new growth, you’ll wonder why you spent so many months “hoping” cuttings would take on an open shelf. The chamber doesn’t do magic; it just stacks the odds in your favor, one predictable day at a time.
Citations: University of Minnesota Extension (2023); Kansas State University Research and Extension (2022).