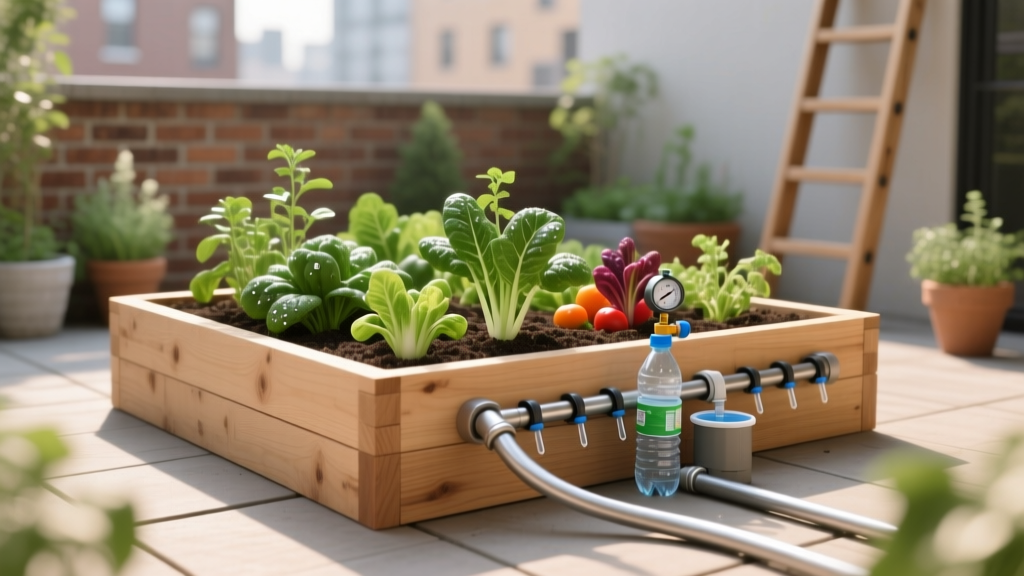
DIY Drip Irrigation for Raised Beds: Under $50 (2026)
Why Drip Irrigation Beats Hand Watering
Drip irrigation delivers water directly to root zones, reducing waste by up to 60% compared to overhead sprinklers. For raised beds, a simple DIY system costs under $50 and takes less than an hour to install.
Parts List (Under $50)
- Faucet timer ($12-18)
- Pressure regulator (25 PSI) ($5-8)
- Filter (200 mesh) ($4-6)
- 1/2-inch poly tubing, 50 ft ($8-12)
- Drip tape or 1/4-inch soaker lines ($6-10)
- T-connectors and end caps ($3-5)
Step-by-Step Installation
Step 1: Attach the timer to your outdoor faucet. Set initial watering for early morning (5-6 AM) when evaporation is lowest.
Step 2: Connect the pressure regulator and filter to the timer outlet. Drip systems need low pressure (15-25 PSI) to prevent emitter blowouts.
Step 3: Run 1/2-inch main tubing along the long edge of your raised bed. Use garden staples to secure it.
Step 4: Punch holes in the main line every 12 inches and insert 1/4-inch drip lines that run across the bed width.
Step 5: Cap the end of the main line. Turn on the water and check for leaks.
Watering Schedule by Zone
- Zones 3-5: 20 minutes every 2-3 days in summer
- Zones 6-7: 25 minutes every 2 days in summer
- Zones 8-9: 30 minutes daily in peak summer, twice daily if above 95°F
Maintenance Tips
Flush the system monthly by opening end caps. In fall, drain all lines before first freeze to prevent cracking. Replace drip tape every 2-3 seasons as mineral deposits clog emitters.
Troubleshooting Common Issues
Uneven watering: Check pressure regulator; beds over 30 feet from the faucet may need a larger main line.
Clogged emitters: Soak in white vinegar for 30 minutes.
Leaks at connections: Ensure tubing is cut square and pushed fully into fittings.