10 Things Every Gardener Should Know About Seed Starting
The most common seed-starting mistake isn’t “forgetting to water.” It’s starting seeds in a warm, cozy spot and then wondering why the seedlings stretch into pale, floppy noodles within a week. That leggy mess isn’t bad luck—it’s physics: not enough light intensity at the exact moment the plant decides how to build its stem.
Let’s fix that (and nine other seed-starting headaches) with practical shortcuts, DIY swaps, and a few numbers you can actually use.
Set the stage first (so you’re not rescuing seedlings later)
1) Light beats heat after germination—by a lot
Heat helps seeds sprout, but once you see green, light becomes the priority. Put lights 2–3 inches above the seedlings and run them 14–16 hours/day; raise the fixture as plants grow to keep that distance. A sunny windowsill almost always loses because winter sun is weak and comes from one direction—hello, leaning stems.
Real-world example: If your tomatoes sprout in 5 days on a heat mat, move the tray off the mat the same day they emerge and slide them under a shop light set 2 inches above the canopy. You’ll get stockier stems in 7–10 days instead of a tray of floppers.
2) Your seed-starting “soil” should be mostly air
Seed-starting mix isn’t garden soil—it’s a moisture sponge with air pockets. Look for fine-textured mix with ingredients like peat/coir and perlite/vermiculite; if it feels heavy, cut it with 20–30% perlite for better oxygen at the root zone. Roots need oxygen to grow; soggy, dense mix is how damping-off gets invited to the party.
DIY alternative: For a simple homemade blend, start with 2 parts coco coir + 1 part perlite + 1 part vermiculite. Moisten before filling cells so it’s evenly damp, not lumpy.
3) Pre-moisten the mix to the “wrung-out sponge” level
Filling trays with dry mix and watering afterward often creates dry pockets that repel water, especially in peat-based blends. Pre-moisten in a bucket until a handful squeezed hard gives 1–2 drops, then fill cells and gently firm. That one step prevents the frustrating cycle of “wet surface, dry core.”
Scenario: If you’ve ever had lettuce germinate on top while roots never penetrate, dry pockets are a prime suspect. Pre-moistening fixes that without changing anything else.
Germination hacks that actually save time
4) Temperature is a dial, not a guess
Most seeds have a germination “sweet spot,” and being off by 10°F can mean the difference between 3 days and 14. A heat mat set around 75–80°F speeds warm-season crops (tomatoes, peppers), while many cool-season crops (lettuce, brassicas) germinate better closer to 60–70°F. Use a $10–$15 probe thermometer to check actual tray temperature—mats often run warmer than you think.
Source: Oregon State University Extension notes that soil temperature strongly affects germination speed and uniformity (OSU Extension, 2020).
5) Don’t bury every seed—use a depth rule you can remember
The quick rule: plant seeds about 2–3× as deep as their diameter, and surface-sow dust-like seeds (begonia, petunia) by pressing them into the mix. Small seeds run out of energy if buried too deep; large seeds dry out if planted too shallow. When in doubt, go slightly shallower and keep humidity high with a dome until sprouting.
Example: Basil (small) does well at about 1/8 inch deep; beans (large) are fine around 1 inch.
6) Pre-soak and “paper towel test” only the seeds that benefit
Not every seed needs fussing, but a few respond incredibly well. Soak thick-coated seeds (morning glory, nasturtium) for 8–12 hours to speed water uptake; for older packets, sprout 10 seeds in a damp paper towel inside a zip bag to check viability before you waste tray space. If 4 out of 10 sprout, sow roughly double in your cells.
Scenario: You find a 4-year-old pepper packet and only have room for one 72-cell tray. A quick paper towel test tells you if you should sow 1 seed per cell or 2–3.
Watering and airflow (where most people accidentally kill seedlings)
7) Bottom-water like a pro—then stop when the surface changes color
Bottom-watering reduces fungus gnats and keeps stems drier, which helps prevent damping-off. Add 1/2 inch of water to the tray, wait 10–20 minutes, then pour off any excess once the mix surface darkens. Leaving trays sitting in water all day is the fast track to weak roots.
Cost-saving tip: A cafeteria tray or cheap boot tray works as a bottom-water reservoir for under $8, instead of buying specialty capillary mats.
8) Run a fan—not to “toughen” plants, but to prevent disease
Air movement dries the soil surface a bit faster and makes it harder for fungal spores to get comfortable. Aim a small fan so it creates gentle leaf movement for 15–30 minutes, 2–3 times/day, or keep it on low continuously across (not directly at) trays. This is less about “strong stems” and more about not losing a whole flat overnight.
Source: University of Minnesota Extension discusses damping-off prevention strategies including sanitation and environmental control (University of Minnesota Extension, 2019).
“Most damping-off problems are related to overly wet soils and cool temperatures. Adjusting watering and providing good air circulation are key.” — University of Minnesota Extension (2019)
Timing and spacing (your shortcut to bigger plants on transplant day)
9) Start based on transplant size, not the calendar on the seed packet
Seed packets often assume ideal light and greenhouse conditions. Indoors, many gardeners do better targeting a transplant size: tomatoes at 6–10 inches tall with a thick stem, brassicas with 3–4 true leaves, and cucurbits (squash/cucumbers) with 1–2 true leaves before they get root-bound. Count backward from your last frost date, but adjust if your light setup is modest.
Scenario: If your last frost is May 10 and you have only one LED shop light, starting tomatoes 8 weeks early can create tall, stressed plants. Starting at 5–6 weeks often produces sturdier transplants that outperform the “older” ones.
10) Pot up only when the rootball earns it (and use smaller steps)
Potting up too early wastes mix and encourages soggy conditions; too late means circling roots and stalled growth. Look for roots reaching the cell edges and a plant that dries the cell noticeably faster—then move up one size (for example, from a 1.5-inch cell to a 3–4 inch pot). Stepping up gradually builds dense roots without the “wet pot” problem.
Real-world example: Peppers often appreciate one pot-up: 128-cell to 3-inch pot, then transplant outside once nights stay above 55°F. They’ll be thicker and less cranky at planting time.
Toolbox: smart swaps, money savers, and what’s worth buying
Seed starting can be cheap or fancy, but a few choices dramatically change results. Here’s a quick comparison that helps you spend where it matters.
| Item/Method | Budget Option | Midrange Option | What I’d pick & why |
|---|---|---|---|
| Lighting | 2-bulb T5/T8 shop light ($25–$40) | LED shop light ($35–$70) | LED shop light: lower heat, lower power draw, easy to hang 2–3 inches above seedlings |
| Seed trays | Reuse deli containers + poke drainage holes ($0) | 1020 trays + cell inserts ($2–$6 each) | 1020 trays: stable, bottom-water friendly, easy to move without spills |
| Humidity dome | Plastic wrap + skewers ($1) | Clear dome ($6–$12) | DIY works fine—just remove as soon as most seeds sprout to avoid fungus |
| Heat | Top of fridge (free) | Heat mat + thermostat ($25–$45) | Heat mat with thermostat for peppers/eggplant: faster, more uniform germination |
One more cost trick: if you’re running lights, put them on a timer. A basic outlet timer is usually $8–$12, and it prevents the “oops, I left the lights on for 24 hours” problem that can stress seedlings.
Three quick case examples (so you can copy what works)
Case example: The “leggy tomato” rescue
You started tomatoes on a windowsill and they’re 8 inches tall with thin stems at 3 weeks. Repot them deeper (bury the stem up to the first leaves), put them under lights at 2–3 inches, and add a gentle fan cycle. Tomatoes root along buried stems, so this is one of the rare “oops” moments you can turn into a win.
Case example: Lettuce that won’t germinate indoors
Lettuce often struggles when soil temps creep too warm, especially above the low 70s. Move the tray to a cooler spot around 60–65°F, surface-sow (don’t bury much), and keep the mix evenly moist with bottom-watering. If your room is warm, start lettuce in a basement or even an unheated spare room with lights.
Case example: Fungus gnats taking over your seed trays
Gnats thrive in constantly wet media and organic debris. Switch to bottom-watering with a strict 10–20 minute soak, let the surface dry slightly between waterings, and top-dress cells with a thin layer (about 1/4 inch) of coarse sand to make it harder for adults to lay eggs. Yellow sticky cards help you measure if you’re winning within a week.
A few final insider moves that pay off every season
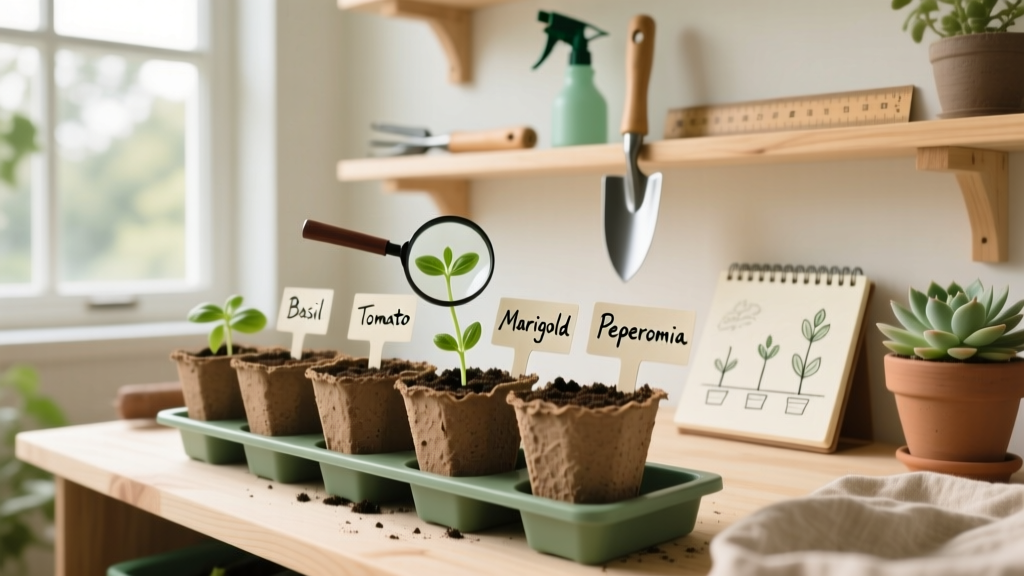
Label like you mean it: use painter’s tape on trays plus a plastic label in the cell pack. Ink fades, labels disappear, and “I’ll remember which is which” is the seed-starting lie we all tell ourselves.
Keep a tiny notebook (or a note on your phone) with three numbers for each crop: days to germinate, days to first true leaves, and the date you first potted up. After one season, you’ll have timing dialed in for your house, your lights, and your habits—way more accurate than generic packet guidance.
And if you only change one thing this year, make it this: the day seeds sprout, give them bright light from close range and stop pampering them with constant warmth and humidity. That single pivot turns seed starting from a gamble into a repeatable system you can run on autopilot.
Sources: Oregon State University Extension (2020); University of Minnesota Extension (2019).