Front Yard Rain Garden Design
The first time you notice it, it’s usually on a rainy Tuesday: water sheets off the driveway, the downspout spits a steady stream, and within minutes your front walk has a shallow “moat.” By the next morning, the lawn is pocked with muddy footprints and a thin ribbon of silt trails toward the curb. You can keep fighting it with regrading and grass seed—or you can put that water to work.
A front yard rain garden is a small, intentional basin planted with water-tough perennials and shrubs that soak up stormwater, slow runoff, and look like part of a polished landscape. Done well, it feels like a designed garden bed, not a drainage project. I’ll walk you through the layout decisions landscape designers make—where to place it, how big to build it, what to plant, and how to keep it low-maintenance without losing curb appeal.
Start with the “water story” of your front yard
Before you sketch anything, watch how water moves. You’re looking for two things: where it collects (low points, downspout splash zones) and where it wants to go (a natural swale, the curb line, or toward the foundation—which is the one we want to interrupt).
Placement rules that keep it beautiful and safe
These are the layout guardrails I use on real projects:
- Keep the basin at least 10 feet from the house foundation (especially if you have a basement). This distance is widely recommended by extension services and rain garden manuals.
- Avoid septic drain fields and don’t place the garden where you routinely pile snow (salt runoff can damage plants).
- Choose a spot that receives 4–8 hours of sun for the broadest plant palette. You can still build in part shade, but plant options narrow.
- Plan an overflow path so heavy storms exit safely toward the street or an existing swale—never back toward the house.
If you need a benchmark for function: rain gardens are typically designed to drain within 24–48 hours after a storm so mosquitoes don’t have time to develop. That’s a standard performance target in many municipal and university rain garden guidelines.
Simple sizing that works for most front yards
You don’t need engineering software to get a successful home rain garden. A practical starting point is to size the rain garden at 10–20% of the roof/downspout drainage area feeding it, adjusting based on soil type (smaller for sandy soils, larger for clay). For example:
- A garage roof section of 300 sq ft draining to one downspout → rain garden area target: 30–60 sq ft (for many yards, that’s a bed about 6 ft x 8 ft).
- A bigger front roof section of 600 sq ft → target: 60–120 sq ft (think 8 ft x 12 ft up to 10 ft x 12 ft).
As a reference point for stormwater goals, the U.S. EPA notes that green infrastructure like rain gardens helps reduce runoff and improve water quality (U.S. Environmental Protection Agency, 2023). For design basics and siting considerations, the Wisconsin Department of Natural Resources rain garden guidance is a solid, long-standing reference (Wisconsin DNR, 2012).
Layout strategies: make it read like a front-yard “feature bed”
The best front yard rain gardens don’t look like basins first—they look like intentional planting beds with good edges, a clear shape, and a confident plant composition. The water function is hidden in plain sight.
Use a three-zone bowl (and plant to match)
Think of your rain garden as a shallow bowl with three planting rings:
- Bottom (wettest zone): handles periodic puddling; place the most water-tolerant plants here.
- Side slopes (middle zone): evenly moist after rains but not constantly wet; most rain garden perennials thrive here.
- Rim (driest zone): transitions to lawn or existing beds; use drought-tolerant, tidy plants for a crisp edge.
In most home yards, the basin depth is modest: 6–8 inches from rim to bottom is plenty. You’re not digging a pond—you’re creating a temporary holding space.
Shape it to your architecture, not to the stormwater diagram
Front yards demand curb appeal. These shape cues help:
- For a formal home (colonial, craftsman): use a soft rectangle or kidney shape aligned with the walk. Keep edges clean with stone or metal edging.
- For a modern home: lean into a geometric oval or elongated rectangle, with repeating plant drifts.
- For cottage-style landscapes: a looser, curving bed reads natural and welcoming—just keep the rim edge intentional.
Plan the “front view” like a designer: tall in back, tidy in front
Because rain gardens often sit between the sidewalk and the house, sightlines matter. A simple rule: keep plants nearest the sidewalk 18–30 inches tall, with taller plants (up to 4–5 feet) closer to the house or toward the center-back of the bed. This keeps the entry visually open and avoids blocking windows.
“Design rain gardens to drain within 24 to 48 hours after a rain event; this prevents mosquito breeding and protects plant health.” — Guidance commonly emphasized in university and municipal rain garden manuals (e.g., Wisconsin DNR, 2012)
Step-by-step setup (DIY-friendly and renter-adaptable)
Here’s the workflow I use on small residential installs. You can do this over a weekend if the site is straightforward.
- Do a quick infiltration test. Dig a hole 8 inches deep, fill with water, let it drain once, then refill and time how long it takes to drain. If it drains in under 24 hours, you’re in good shape. If it’s still holding water after 48 hours, you’ll need a shallower basin, soil amendment, or a different location.
- Mark the outline. Use a garden hose or marking paint. Stand at the curb and entry walk—adjust until it looks “designed,” not accidental.
- Confirm safe distances. Keep the garden 10+ feet from the foundation and direct overflow away from structures.
- Excavate the basin. Remove sod and dig to create a bowl shape, aiming for 6–8 inches of depth in the center with gentle side slopes.
- Build a firm rim. Use the excavated soil to form a berm on the downhill side if needed. Compact it by tamping and watering.
- Amend soil if necessary. In heavy clay, blend in compost and coarse sand (avoid making a “bathtub” by over-compacting). A common approach is working in 2–3 inches of compost across the bed.
- Route the water in. Extend a downspout with a 4-inch corrugated pipe, or create a shallow rock-lined swale. Add a small rock apron where water enters to prevent erosion.
- Plant by zones. Place moisture-lovers in the bottom, adaptable perennials on the slopes, and drought-tolerant edging plants at the rim.
- Mulch smartly. Apply 2 inches of shredded hardwood mulch; keep it a few inches away from plant crowns. Avoid fine bark that floats away in storms.
- Water in and monitor. For the first 6–8 weeks, water during dry spells so roots establish—rain gardens still need consistent moisture early on.
Plant selection that stays tidy in a front yard
A front yard rain garden has two jobs: tolerate wet-dry swings and look intentional from the street. I like plants with strong structure, upright habit, and long seasonal interest. Choose mostly natives when possible (they’re resilient and support pollinators), then add a few well-behaved ornamentals if you want extra polish.
Recommended plants (by rain garden zone)
Bottom zone (periodically wet, occasional puddling):
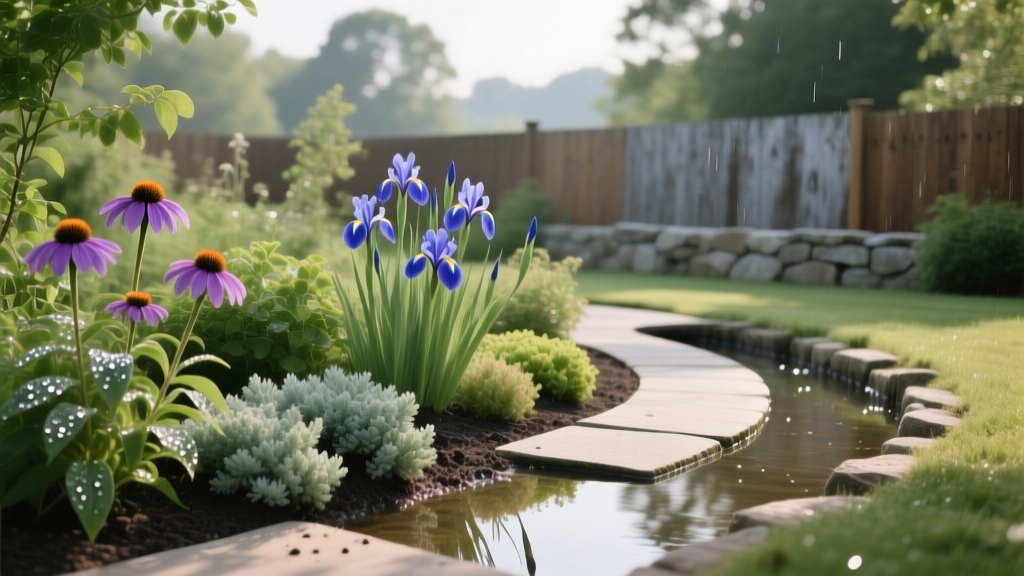
- Iris versicolor (Blue flag iris): bold spring blooms, tough roots that handle wet feet; plant 18–24 inches apart.
- Chelone glabra (White turtlehead): late-summer flowers, excellent for pollinators; holds upright form; spacing 18 inches.
- Juncus effusus (Soft rush): architectural vertical texture; great for the inlet area where water rushes in; spacing 12–18 inches.
Middle slopes (moist, well-drained after storms):
- Echinacea purpurea ‘Magnus’ (Coneflower): strong stems, long bloom season; spacing 18 inches.
- Rudbeckia fulgida ‘Goldsturm’ (Black-eyed Susan): dependable, tidy mound; spacing 18 inches.
- Schizachyrium scoparium ‘Standing Ovation’ (Little bluestem): four-season structure; tolerates drought once established; spacing 18–24 inches.
- Amsonia hubrichtii (Threadleaf bluestar): soft texture, incredible fall color, doesn’t flop; spacing 24–30 inches.
Rim/edge (drier, “curb appeal” zone):
- Heuchera ‘Caramel’ (Coral bells): tidy clumps, great edging; spacing 12–18 inches (best in part sun).
- Nepeta ‘Walker’s Low’ (Catmint): long bloom, softening edge, drought-tolerant; spacing 18–24 inches.
- Allium ‘Millenium’: clean habit, late-summer purple blooms, very front-yard friendly; spacing 12–18 inches.
Shrubs for structure (use sparingly, 1–3 specimens):
- Itea virginica ‘Little Henry’ (Virginia sweetspire): handles moisture, fragrant flowers, great fall color; mature width about 3 feet; place as an anchor near the entry side.
- Cornus sericea ‘Arctic Fire’ (Redtwig dogwood): winter stem color; tolerates wet soil; give it 4–5 feet of space and keep pruned for scale.
A quick comparison: plants that behave vs. plants that sprawl
| Plant | Rain Garden Zone | Mature Height | Spacing | Best For | Notes for Front Yards |
|---|---|---|---|---|---|
| Iris versicolor | Bottom | 24–36 in | 18–24 in | Spring impact | Strong form; good near inlets |
| Chelone glabra | Bottom/Mid | 24–48 in | 18 in | Late-season blooms | Upright; stays fairly tidy |
| Rudbeckia ‘Goldsturm’ | Mid | 24–30 in | 18 in | Long bloom window | Classic curb appeal; deadhead for neatness |
| Little bluestem ‘Standing Ovation’ | Mid/Rim | 36–48 in | 18–24 in | Winter structure | Reads intentional; doesn’t flop like some grasses |
| Nepeta ‘Walker’s Low’ | Rim | 18–24 in | 18–24 in | Soft edging | Can billow; shear midseason to keep crisp |
Three real-world layout scenarios (with dimensions you can copy)
Different front yards ask for different rain garden shapes. Here are three common situations I design around, with proven layouts that still look like “front yard landscaping.”
Scenario 1: The downspout-by-the-porch problem (small bed, big payoff)
Site: A small front yard where one downspout dumps beside the steps, creating a muddy channel.
Layout: A compact kidney-shaped bed 6 ft x 10 ft (about 60 sq ft) set 12 feet from the foundation, with a rock inlet and a subtle overflow notch toward the lawn.
Planting plan: Soft rush at the inlet, blue flag iris in the basin, then drifts of ‘Goldsturm’ and ‘Millenium’ at the rim for a tidy, entry-friendly look.
Budget: DIY with ~35 one-gallon perennials at $8–$12 each plus mulch and edging typically lands around $350–$700, depending on plant sizes and how much hardscape you add.
Scenario 2: The sloped front yard that sends water to the sidewalk
Site: A yard with a noticeable grade—rainwater runs down and pools along the public sidewalk, icing in winter.
Layout: An elongated swale-style rain garden 4 ft x 18 ft (about 72 sq ft) placed parallel to the sidewalk, with a low berm on the downhill edge. Basin depth stays modest at 6 inches to avoid a tripping hazard and keep mowing edges clean.
Planting plan: Use grasses (little bluestem) and sturdy perennials (coneflower, amsonia) on slopes, with moisture plants (turtlehead) in the center line where water settles.
DIY alternative: If digging is tough, build a “raised rim” effect with added soil and create a shallow depression—less excavation, similar function.
Scenario 3: The renter-friendly rain garden (temporary, container-forward)
Site: You can’t excavate deeply or alter drainage permanently, but you want to reduce splash and puddling near an entry path.
Layout: Use a 2 ft x 8 ft gravel infiltration strip under the downspout, feeding into 3–5 large containers (minimum 18–24 inches wide) planted with moisture-tolerant ornamentals. Add a small “dry creek” ribbon (river rock over landscape fabric) to guide overflow away from the door.
Planting plan: Container-friendly options include dwarf sweetspire (in a large pot), sedges, and iris; use a high-quality potting mix and keep saucers off so water can drain.
Cost range: Containers can be the biggest line item—often $25–$80 each—but you can source used pots or galvanized tubs to cut costs.
Budget planning: where the money actually goes
Most front yard rain gardens are affordable because the “materials” are soil, plants, and a bit of stone. The cost swings based on how finished you want the edges and how quickly you want it to look mature.
- Plants: 1-gallon perennials commonly run $8–$12. For a 80 sq ft rain garden planted at an average spacing of 18 inches, you’ll use roughly 30–40 perennials (depending on grasses/shrubs), or about $240–$480.
- Mulch: A 2-inch layer over 80 sq ft is about 0.5 cubic yards. Delivered mulch often ranges $35–$60 per yard, plus delivery.
- Stone: River rock for the inlet/overflow might be $50–$150 depending on coverage and local prices.
- Downspout extension: A 10-foot corrugated pipe plus fittings often lands around $20–$60.
- Pro install (if you outsource): Small rain gardens often begin around $1,500 and can reach $4,000+ with hard edging, mature plants, and complex grading.
DIY savings tip: buy smaller plants and plant a bit denser at the rim (for instant neatness), while letting the center fill in over a season. Also consider local conservation districts—some offer rebates or plant-sale pricing for stormwater projects (availability varies by region).
Maintenance expectations (so it stays sharp from the curb)
A new rain garden needs attention early, then it settles into an easy rhythm. Plan on 30–45 minutes per week during the first growing season (mostly weeding and watering during dry spells). By year two, many homeowners are down to 15–30 minutes per week in peak season.
Seasonal task list
- Spring (1–2 hours total): cut back grasses and perennials before new growth; refresh mulch to maintain about 2 inches; check inlet stones after snowmelt.
- Summer (15–30 min/week): weed while plants fill in; shear catmint after the first bloom to keep a tidy edge; water only during extended dry periods (new plantings need more).
- Fall (30–60 min): leave some seed heads for winter interest; remove leaves if they form a thick mat that blocks infiltration.
- After big storms (10 minutes): confirm water drains within 24–48 hours; clear sediment at the inlet and make sure the overflow route is open.
If you want the front yard to look intentionally designed year-round, keep one evergreen structure nearby (a clipped boxwood alternative, a small conifer, or even a simple boulder grouping) so the rain garden has a visual “anchor” when perennials go dormant.
Small design moves that make it look professional
These details separate “a drainage dip” from a garden bed your neighbors compliment:
- Give it a crisp edge. Steel edging, stone, or a clean spade-cut line keeps the garden from reading messy—especially along sidewalks.
- Repeat shapes and colors. Use drifts of 3–7 of the same perennial rather than one-of-everything. Repetition reads planned.
- Hide the inlet in beauty. A rock apron is functional, but flank it with upright plants (rushes, iris) to make it feel like a natural spring moment.
- Plan for mature size. Space most perennials 12–24 inches apart and shrubs according to their mature width so you’re not constantly pruning for sightlines.
And if you’re still on the fence about whether your yard “counts” as a good candidate: most front yards with a downspout problem do. Rain gardens are a proven green infrastructure tool for reducing runoff and filtering pollutants (U.S. EPA, 2023), and state-level guidance has been field-tested for years (Wisconsin DNR, 2012). Your version just needs to fit your architecture, your sun exposure, and your comfort level with digging.
When the next storm hits, you’ll see the shift immediately: water flows into a planted basin instead of across your walk, the soil holds it briefly, and the garden looks like it was always meant to be there—framing your entry with blooms, grasses, and a sense that the landscape is working with nature instead of against it.
Sources: U.S. Environmental Protection Agency (EPA), Green Infrastructure/Stormwater resources, 2023. Wisconsin Department of Natural Resources (DNR), rain garden guidance materials, 2012.