Indoor Fern Collection Care Guide
The corners of your living room look finished—sofa, rug, lamp—yet the space still feels a little flat. Then you notice what’s missing: that layered, green softness that makes a room feel alive. You bring home one fern, set it on a shelf, and within a week the fronds crisp at the tips. The plant didn’t fail you; the layout did. Ferns are less about “having a plant” and more about designing a small, stable microclimate indoors. Once you treat them like a collection—grouped, staged, and irrigated with intention—they stop being fussy and start being reliable.
This guide walks you through planning an indoor fern collection the way I’d design a small interior landscape: reading your light, mapping humidity pockets, choosing containers, and placing each fern where it performs best. You’ll get a practical layout strategy, specific fern varieties that thrive indoors, and clear care expectations—without turning your home into a greenhouse.
Design principles: treat ferns like a microclimate project
Start with the “fern triangle”: light, humidity, and airflow
Indoor ferns fail for predictable reasons: too much sun, too little humidity, or air that dries them out (vents, heaters, drafty windows). Your job is to pick a zone where you can control two of these factors and at least minimize the third.
- Light: Bright, indirect is the sweet spot. Aim for 4–8 hours of indirect light or filtered sun; harsh direct sun can scorch fronds.
- Humidity: Many common indoor ferns prefer 40–60% relative humidity; some appreciate higher.
- Airflow: Gentle circulation is good; direct blasts from HVAC are not. Keep plants 3–6 ft away from vents if possible.
“Most houseplants are best grown at a relative humidity of 40% to 60%.” — Clemson Cooperative Extension, Humidity for Houseplants (2019)
The design trick: instead of trying to make your entire home perfect, make one corner, shelf, or bathroom shelf perfect for a cluster of ferns.
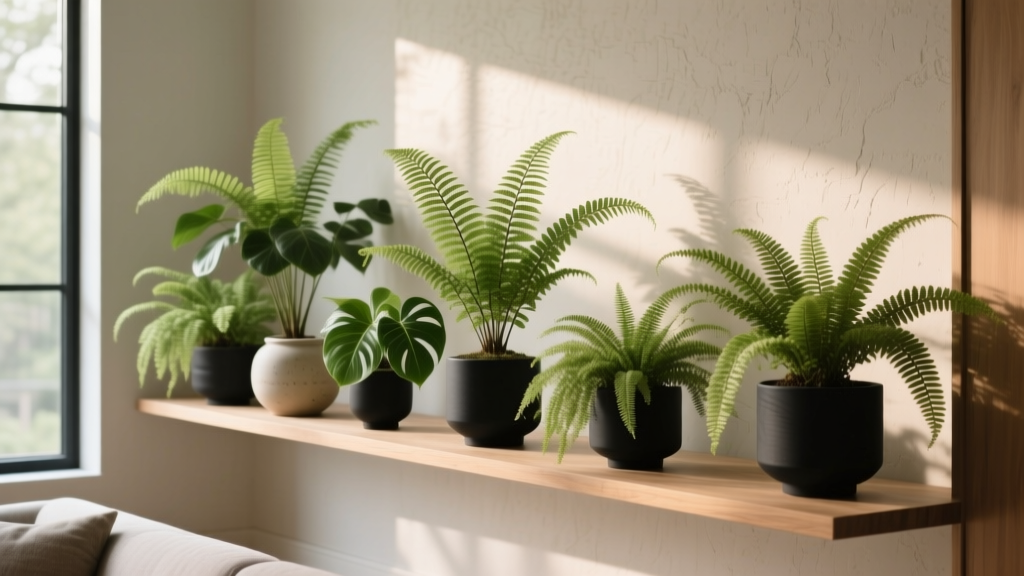
Layering: build a “fern shelfscape” like a planted border
In outdoor design, you layer tall plants behind shorter ones so every leaf has room. Indoors, do the same—just vertically. Use a three-tier approach:
- Back/top tier (18–36 in tall): Upright fronds create height and a green backdrop.
- Mid tier (12–24 in): Mounding ferns fill the body of the display.
- Front/edge tier (trailing): Cascading fronds soften shelves and hide pot rims.
For spacing, plan for the mature spread, not the nursery pot. A good working rule indoors is to allow 8–12 in between small-to-medium ferns so air can move and fronds don’t tangle into a damp mat.
Group plants to create a humidity pocket (and cut weekly labor)
A single fern on a table is exposed on all sides; a group of 3–7 plants creates its own microclimate. When leaves overlap slightly and pots are clustered, humidity stays around the foliage longer after watering. This reduces crispy tips and also simplifies your routine: water one zone, mist one zone (if you choose), check one zone.
Design note: put the most humidity-loving fern at the center of the group, with tougher plants on the outer ring—like edging a garden bed.
Layout strategies for real homes (and real constraints)
Map your light with a tape measure, not a guess
Before you buy another fern, measure your placement options. A simple plan that works:
- Choose 2–3 candidate locations (near a window, in a bathroom, on a bright hallway wall).
- Measure distance from the window: 1 ft, 3 ft, 6 ft. Light falls off quickly indoors.
- Observe sun patterns for one day: direct sun patches are the danger zones for many ferns.
- Set a target: bright, indirect light for most indoor ferns; low light only for a few reliable species.
If you’re using grow lights, aim for a consistent schedule of 10–12 hours/day for lush growth. (This is particularly helpful in north-facing apartments or winter months.)
Build a “watering-safe” zone to protect floors and relationships
Indoor collections succeed when they’re easy to water without drama. Make watering spill-proof:
- Use waterproof trays under pots. A 16 x 12 in tray can hold 2–3 small ferns grouped together.
- Keep a small watering can nearby (a 1–2 liter can is easier indoors than a big jug).
- Choose saucers at least 1 in wider than the pot diameter.
Budget reality: if you’re renting, prioritize setups that don’t require drilling. A freestanding shelf and good trays are your best friends.
Use humidity tools like design materials (not gadgets)
Think of humidity support like hardscape: it’s infrastructure. Your options, from simplest to most controlled:
- Pebble tray: A shallow tray with stones and water under grouped pots. Low cost, moderate effect.
- Room humidifier: Strong, consistent effect for collections; place it 2–4 ft away so leaves don’t stay wet.
- Terrarium cabinet: High control, high cost; best for delicate species.
Consumer note: the U.S. Environmental Protection Agency recommends keeping indoor humidity in the 30–50% range to help limit mold and dust mites (EPA, 2023). For many ferns, that overlaps nicely—just avoid pushing humidity too high in a closed room without airflow.
Plant selection: indoor ferns that actually work in collections
Choose ferns the way you’d choose plants for a mixed border: match their needs, then mix textures. Below are varieties that perform reliably indoors, plus what they contribute to the “composition.”
Reliable foundation ferns (for the “mid layer”)
- Boston fern (Nephrolepis exaltata): The classic arching shape for fullness. Works well in hanging baskets or elevated shelves because the fronds naturally cascade. Likes consistent moisture and brighter indirect light.
- Kimberly Queen fern (Nephrolepis obliterata): More upright and tidier than Boston fern—great if you want structure without constant frond shed. Handles indoor conditions with less drama.
- Bird’s nest fern (Asplenium nidus): Bold, glossy fronds; a centerpiece plant that reads as modern and architectural. Prefers stable warmth and humidity; keep water out of the central “nest.”
Texture ferns (for collectors who want detail up close)
- Maidenhair fern (Adiantum raddianum): Airy, delicate texture—beautiful but less forgiving. Best in bathrooms or near a humidifier where it won’t dry out.
- Lemon button fern (Nephrolepis cordifolia ‘Duffii’): Compact, friendly scale for shelves and desks; tiny rounded leaflets add a different rhythm to the group.
- Blue star fern (Phlebodium aureum): Blue-green fronds with a slightly fuzzy texture; more drought-tolerant than many ferns once established, making it a good “outer ring” plant.
Statement and specialty (use as accents, not the whole collection)
- Staghorn fern (Platycerium bifurcatum): Mount it like living wall art. Excellent for vertical design; needs a different watering method (soak or thorough wetting of the mount) and good airflow.
- Rabbit’s foot fern (Davallia fejeensis): The fuzzy rhizomes creep over the pot edge—great conversation piece and a strong “front edge” plant on a shelf.
Quick comparison table: match ferns to rooms and routines
| Fern | Best placement | Light target | Watering rhythm | Design role |
|---|---|---|---|---|
| Boston fern | Hanging basket near bright window | Bright, indirect; avoid hot sun | Evenly moist; don’t let it fully dry | Soft cascade, volume |
| Kimberly Queen | Floor pot, entryway, bright corner | Medium to bright indirect | Moist, slightly drier than Boston | Upright structure |
| Bird’s nest | Tabletop away from drafts | Medium to bright indirect | Water soil, not crown | Centerpiece focal point |
| Maidenhair | Bathroom shelf or humidifier zone | Medium indirect | Frequent; hates drying out | Fine texture, airy layer |
| Blue star | Bookshelf, low-to-medium light room | Low to medium indirect | Let top inch dry slightly | Color contrast, resilience |
Three real-world layout scenarios (with dimensions and plant lists)
Scenario 1: The renter’s bright window shelf (no drilling, minimal mess)
Space: A 48 in wide freestanding shelf positioned 2–4 ft from an east-facing window (gentle morning sun). You want lush greenery without damaging walls or floors.
Layout strategy: Use three levels and a shared tray system. Place a waterproof tray on each shelf so you can water in place.
Planting plan:
- Top shelf: 1 Bird’s nest fern in a 8–10 in pot for structure.
- Middle shelf: 2 Lemon button ferns in 6 in pots, spaced 10 in apart.
- Lower shelf edge: 1 Boston fern in a 10–12 in hanging pot placed on the shelf so fronds cascade forward.
Budget snapshot: Shelf ($60–$140), trays ($10–$25 each), ferns ($12–$35 each), and potting materials ($15–$30). A realistic total is $120–$260 depending on pot choices.
DIY alternative: Repurpose a thrifted bookcase and line shelves with cut-to-size pond liner or boot trays.
Scenario 2: The low-light apartment corner (add a grow light, keep it stylish)
Space: A dim corner 6 ft from a north-facing window where most plants sulk. You want greenery but don’t want a “plant lab” look.
Layout strategy: One tall plant stand, one floor pot, one grow bulb in a floor lamp. Aim the light down and slightly forward, like gallery lighting.
Specs that work:
- Grow light schedule: 10–12 hours/day on a timer.
- Stand footprint: about 12 x 12 in so it fits tight corners.
Planting plan:
- Floor: Kimberly Queen fern (upright form reads intentional in corners).
- Stand top: Blue star fern (tolerates lower light and slight drying).
- Optional accent: Rabbit’s foot fern on a lower tier for texture.
Cost range: Timer ($8–$15), grow bulb ($15–$35), plant stand ($25–$80). You can bring the whole corner to life for $70–$200 plus plants.
Scenario 3: The bathroom “steam shelf” (high humidity, careful light)
Space: A bathroom with a frosted window or bright artificial lighting. Humidity spikes after showers—perfect for ferns that hate dry air.
Layout strategy: A narrow shelf 24–30 in wide above the toilet or on a wall opposite the shower (so fronds aren’t constantly splashed). Keep plants at least 18 in away from frequent water spray.
Planting plan:
- Maidenhair fern (the star of this scenario).
- Button fern (compact, thrives in steady moisture).
- Bird’s nest fern (dramatic form; tolerates bathroom humidity well).
Practical note: Bathrooms can also be low light. If the space has no window, add a small grow light bar and run it 12 hours/day. Keep electrical cords drip-safe and away from wet zones.
Step-by-step setup: build your indoor fern collection like a small installation
- Pick your zone (window shelf, humid corner, or bathroom). Confirm you can access it easily with a watering can.
- Choose containers with drainage holes. For ferns, drainage isn’t optional; soggy roots cause decline fast.
- Use a fern-friendly mix: a peat/coir-based houseplant mix amended with fine bark and perlite for air space. The goal is “moist but breathable.”
- Size up gradually: move up only 1–2 in in pot diameter when repotting. Oversized pots stay wet too long indoors.
- Create a tray system under grouped plants. This is your leak insurance and humidity helper.
- Place by tolerance: humidity lovers in the center; tougher ferns on the edge where air is drier.
- Set a watering cue: check soil with a finger. Water when the top 1/2–1 in feels dry for most; maidenhair prefers staying consistently damp.
- Stabilize humidity if needed: add a humidifier in winter heating season and aim for 40–60%.
- Groom weekly: remove browned fronds at the base to keep the display crisp—like deadheading a perennial border.
Care and maintenance: realistic expectations (time, weekly rhythm, seasonal tasks)
If you’re imagining ferns as high-maintenance, here’s the honest version: the first two weeks take attention while you learn how fast your space dries. After that, a collection becomes a routine.
Weekly time budget
- Small collection (3–5 ferns): about 20–35 minutes/week (watering, checking, quick grooming).
- Medium collection (6–10 ferns): about 45–60 minutes/week, especially if you rotate plants for even light.
Seasonal adjustments that matter
- Winter (heating season): humidity drops; expect to water a bit less often but run a humidifier more consistently. Keep ferns away from radiators.
- Spring: growth picks up; begin light feeding at half strength every 4–6 weeks.
- Summer: watch for sun patches shifting; a fern that was safe in May might get direct sun in July.
- Fall: reduce feeding; clean up older fronds and check for pests before bringing any porch plants back near the collection.
Watering and humidity: the two most common mistakes
Mistake #1: letting ferns dry hard between waterings. Many ferns respond with crispy tips and frond drop. Instead, aim for consistent moisture—like a wrung-out sponge.
Mistake #2: keeping soil constantly saturated. This invites root issues. Drainage holes, airy mix, and emptying saucers after a thorough drink prevent most problems.
Also keep indoor air quality in mind. The EPA notes that keeping indoor relative humidity between 30% and 50% can help control mold (EPA, 2023). If you’re running a humidifier, use a small hygrometer ($10–$15) so you’re not guessing.
Budget planning: where to spend, where to save
A fern collection can look high-end without high-end spending. Prioritize investments that improve plant stability and reduce mess.
- Spend on: a good shelf/stand, trays, and a humidifier if your home is dry. These are the “infrastructure.”
- Save on: pots (cachepots from thrift stores), pebble trays (use leftover aquarium gravel), and propagation swaps with friends.
Typical costs you can plan around:
- 4–6 inch fern: $12–$20
- 8–10 inch fern: $25–$45
- Simple ultrasonic humidifier: $30–$80
- Freestanding shelf: $60–$140
- Waterproof trays: $10–$25 each
Small design details that make a collection look intentional
Repeat pot colors the way you’d repeat paving stones. Choose one neutral (matte white, terracotta, or charcoal) and stick with it for 60–70% of your pots; use one accent pot for a focal fern like a bird’s nest.
Hide the tools in the scene. Tuck a slim watering can on the bottom shelf; keep a small snip tool nearby. A collection that’s easy to tend stays healthy.
Rotate plants a quarter turn every week or two. Ferns lean toward light; small rotations keep the silhouette symmetrical, especially on shelves.
Troubleshooting by “symptom spotting” (fast fixes)
Crispy tips: air too dry, soil drying too much, or hot sun. Move the fern 1–2 ft farther from the window, add a humidifier, and water before it fully dries.
Yellowing fronds: often inconsistent watering or low light. Check for soggy soil first; if roots are fine, increase indirect light or add a grow light timer.
Brown fronds at the base: normal aging—groom them. If many fronds brown at once, check for drafts and heater blasts.
Fungus gnats: soil staying too wet. Let the top inch dry slightly, use yellow sticky traps, and improve airflow around the pots.
Sources and citations
Humidity guidance for common houseplants: Clemson Cooperative Extension (2019), Humidity for Houseplants.
Indoor humidity range to reduce mold: U.S. Environmental Protection Agency (2023), A Brief Guide to Mold, Moisture and Your Home.
Once your fern zone is dialed in, the collection stops feeling like a row of needy pots and starts behaving like a designed indoor garden—layered, textured, and calm. The fronds will tell you when the layout is right: new growth uncurls cleanly, tips stay green, and the whole grouping looks fuller each month. When that happens, you’re not just keeping ferns alive—you’re maintaining a living room landscape that holds its shape.