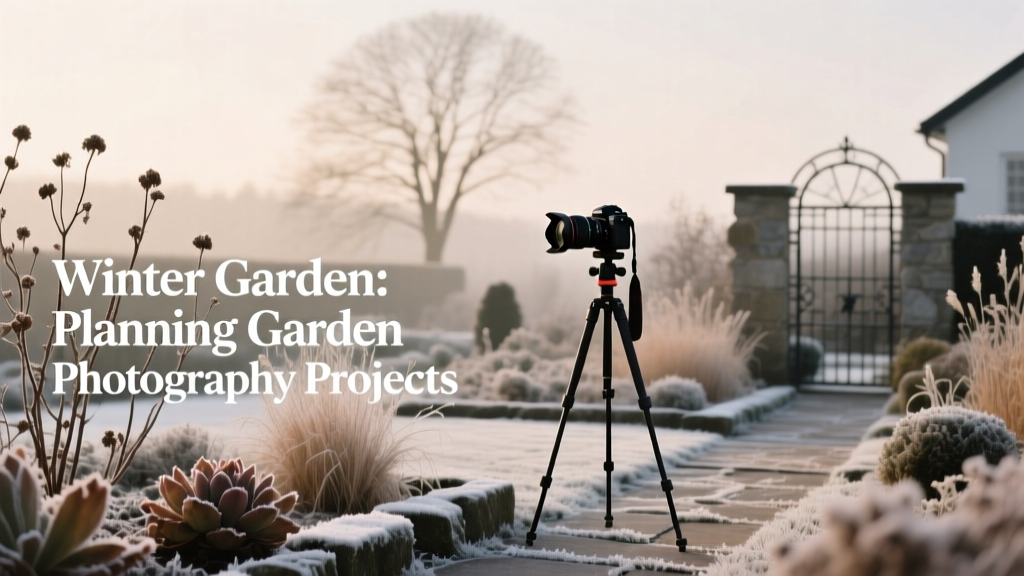
Winter Garden: Planning Garden Photography Projects
Winter doesn’t pause your garden—it edits it. Leaves drop, lines sharpen, bark and evergreen structure take over, and low-angle light turns ordinary beds into dramatic scenes. If you want better garden photos this year, the next 4–8 weeks are your best window to plan, prune with intention, protect focal plants, and prep camera-ready vignettes before spring chaos arrives. Use winter’s simplicity to build a photo list, correct visual problems, and set up repeatable shots you can re-create from the same spot in every season.
Work through the priorities below in order. Each section includes exact timing cues (dates/thresholds), practical checklists, and region-specific variations so you can act now—no matter your USDA zone.
Priority 1: What to plant (for winter interest and next season’s photos)
Winter planting isn’t about instant gratification; it’s about securing structure, bloom timing, and repeatable photographic moments. In many regions, you can still plant cold-hardy trees and shrubs while they’re dormant, as long as the ground isn’t frozen and you can water.
1) Dormant trees and shrubs for structure (now through late winter)
Best timing: Plant on a mild stretch when daytime highs are above 40°F and soil is workable. In USDA Zones 7–9, that can be most of winter; in Zones 3–6, aim for thaws and avoid planting when a hard freeze (<25°F) is forecast within 48 hours.
- Evergreens for winter composition: dwarf conifers, hollies, boxwood alternatives (where blight is a concern), yews (deer permitting).
- Bark/branch interest: paperbark maple, river birch, red-twig dogwood, contorted filbert (where hardy).
- Early bloom subjects: witch hazel, winter jasmine (mild zones), hellebores (often planted in fall, but can be set now in mild spells).
Photography payoff: These plants become your “anchors.” They hold the frame in January, guide the eye in March, and give you consistent backdrops for close-ups all year.
2) Indoor sowing plan (start dates by frost date)
If your winter garden is frozen, the “planting” task becomes planning a seed-start calendar that supports photography. To capture seedlings, potting steps, and early bloom stages, schedule starts backward from your average last frost date.
- 10–12 weeks before last frost: onions, leeks, slow perennials.
- 8–10 weeks before: peppers, eggplant.
- 6–8 weeks before: tomatoes, basil, many annual flowers.
- 4–6 weeks before: cucumbers and squash (often best started later to avoid overgrown transplants).
Concrete timing examples: If your last frost is around April 15 (common in many Zone 6 locations), 8 weeks prior lands near February 15. If your last frost is around May 15 (many Zone 4–5 sites), 8 weeks prior is March 15. Use your local average dates, then adjust with weather.
3) Containers you can stage now
On patios and entryways, winter containers photograph beautifully because you control the frame. Build pots with:
- Evergreen boughs (spruce, cedar, pine) for bulk
- Birch poles or curly willow for height and line
- Bright fruiting stems (winterberry holly—use both sexes in the landscape for berries)
- Weatherproof accents (stone, rusted metal, unglazed terracotta)
Tip: Photograph the container in overcast light for true color, and again at sunrise/sunset for warm highlights. You’ll get two distinct looks from one setup.
Priority 2: What to prune (to improve both plant health and photo composition)
Pruning is one of the fastest ways to improve winter photos because it reduces clutter and reveals structure. It also prevents disease and storm damage. The key is timing—winter pruning is not one-size-fits-all.
1) Prune for structure on dry days (most shrubs and small trees)
Best timing: Choose a dry day when temperatures are above 32°F so cuts are clean and you aren’t snapping frozen wood. Aim for late winter (often January–March) in colder zones to reduce winter injury and still beat spring bud break.
- Remove dead, damaged, and crossing branches first.
- Thin to reveal “bones” of the plant—great for black-and-white winter images.
- Step back every 5 cuts and evaluate silhouette from your main photo angles.
“Many fungi and bacteria survive the winter in infected leaves, fruit, twigs, and cankers. Sanitation—removing and destroying infected plant material—reduces disease pressure next season.” — University of Minnesota Extension (2020)
Use that sanitation principle as your photography principle, too: remove visual “disease”—dangling ties, broken stakes, shredded row covers—so your photos look intentional.
2) Know what NOT to prune yet (to protect spring bloom)
Don’t sacrifice spring flowers for a tidy winter look. In general:
- Prune in late winter/early spring: roses (most types), many deciduous trees, summer-flowering shrubs (e.g., panicle hydrangea).
- Wait until after bloom: spring-flowering shrubs that bloom on old wood (forsythia, lilac, many azaleas, bigleaf hydrangea).
Timing cue: If buds are already swollen and showing color during a warm spell, stop pruning spring bloomers—those buds are your upcoming photo subjects.
3) Tool hygiene for disease prevention (non-negotiable)
Winter is an ideal time to reset habits. Several extension services recommend disinfecting tools to reduce disease spread. For example, Oregon State University Extension notes that disinfectants like alcohol can be used for tool sanitation (OSU Extension, 2019). Keep it simple:
- Carry a small spray bottle of 70% isopropyl alcohol.
- Spray blades between plants when working around known disease issues (canker, fire blight, black spot).
- Sharpen pruners now; clean cuts photograph better and heal better.
Priority 3: What to protect (plants, hardscape, and your future photo spots)
Protection tasks are where winter gardeners quietly win. These steps prevent the damage that ruins spring photos: broken branches, heaved perennials, browned evergreens, and chewed bark.
1) Protect from freeze-thaw cycles (especially Zones 4–7)
Freeze-thaw is a bigger threat than steady cold. When temperatures swing from above freezing to below 25°F repeatedly, roots can heave and evergreens can desiccate.
- Mulch perennials after the ground begins to freeze (often late fall/early winter) to stabilize soil temperature.
- Check crowns after warm spells; tuck exposed roots back in and re-mulch.
- Water during winter drought when temperatures are above 40°F and soil is not frozen—especially for evergreens.
Photography payoff: Preventing winter burn keeps your broadleaf evergreens camera-ready for March and April background shots.
2) Protect woody plants from wildlife
Winter browsing can destroy the “signature shapes” you want to photograph. Act before deep snow raises deer browsing height.
- Tree guards for rabbits and voles on young fruit trees and ornamentals.
- Wrap vulnerable trunks where sunscald is common (often southwest-facing bark in Zones 3–6).
- Repellents can help but need reapplication after rain and thaw events.
3) Protect hardscape and paths (for safe, repeatable shots)
If you plan to return to the same camera positions in every season, keep those routes usable.
- Flag stepping stones and path edges before snow covers them.
- Stabilize wobbly pavers now (during a thaw) so you’re not fixing them during spring bloom.
- Use traction-friendly materials; avoid salts that can damage plants along borders.
4) Pest and disease prevention you can do now
Winter is the time for prevention because pests are exposed and plant structure is visible.
- Remove mummified fruit from apples/pears and pick up fallen fruit to reduce overwintering disease and insect habitat.
- Rake and remove diseased leaves (rose black spot, apple scab) rather than composting if disease pressure was high.
- Dormant oil timing: In many climates, dormant oils are applied in late winter before bud break, during a window when temperatures are above 40°F for 24 hours and no freeze is expected immediately after (follow label and local extension timing). These sprays can suppress overwintering insect eggs and scales.
For research-backed direction, Washington State University Extension discusses dormant oil use as a key dormant-season tactic for certain fruit pests (WSU Extension, 2021). Always match the product to the plant and pest, and avoid spraying during freezing conditions.
Priority 4: What to prepare (your winter garden photography plan)
This is the heart of your winter project: plan images now, then use the season to build the scenes you’ll photograph for the next 12 months. Think like a gardener first, photographer second: choose subjects that will look good repeatedly, and make sure you can access them when the light is right.
1) Make a winter shot list (30 minutes, indoors)
Write a list of 15–25 images you can realistically capture. Include at least:
- 5 structure shots: garden overview, evergreen backbone, paths/arches, raised beds, trellises.
- 5 detail shots: bark, buds, seedheads, frost patterns, moss/lichen on stone.
- 5 process shots: pruning, tool maintenance, mulching, seed starting, compost turning.
- 5 “same spot” seasonal repeats: pick one corner and photograph it monthly.
Timing cue: Start now and schedule your first “same spot” image within the next 7 days, then repeat every 30 days.
2) Choose three repeatable camera positions (and mark them)
Great garden photography often comes from consistency. Pick three spots:
- Wide shot: captures the main axis of the garden.
- Mid-range: a bed or border that changes dramatically.
- Close-up station: a place you can shoot details without trampling (near a path).
Mark positions with a discreet stake or a stone so you can stand in the same location even under snow. This makes before/after pruning shots and seasonal comparisons much more compelling.
3) Build a monthly schedule you can follow
| Month | Garden task focus | Photography focus | Timing/temperature cues |
|---|---|---|---|
| December | Sanitation, protect evergreens, flag paths | Structure, evergreens, winter containers | Photograph within 24–48 hours after snowfall; shoot at sunrise for long shadows |
| January | Prune dead/damaged wood; tool cleaning/sharpening | Before/after pruning sets; bark and branch lines | Prune on dry days >32°F; avoid working when <20°F brittle snap risk |
| February | Late-winter pruning (as appropriate); start seeds (region-dependent) | Buds swelling, early bulbs (mild zones), seed-starting process | Seed-start planning: 8–10 weeks before last frost (e.g., Feb 15 for Apr 15 frost) |
| March | Bed prep during thaws; continue pruning summer bloomers | First greens, hellebores, early shrubs | Watch soil: avoid digging when waterlogged; begin shots when highs regularly >45°F |
4) A 2-week winter photography sprint (timeline)
Use this when you want fast results—ideal for a midwinter lull.
- Day 1: Walk the garden with a notebook. Identify 5 eyesores in photos (hose, torn labels, leaning stakes). Remove or relocate.
- Day 2: Choose 3 repeatable camera positions and mark them.
- Day 3: Prune dead/damaged wood in your main photo views (dry day >32°F).
- Day 4: Sanitation pass: remove mummified fruit, diseased leaves, broken stems.
- Day 5: Photograph “after” shots in flat light (overcast) for honest documentation.
- Day 6: Photograph at golden hour for drama (same angles).
- Day 7: Indoor: edit and label files; create folders by bed/location.
- Week 2: Add one winter container or focal object (bench, urn, obelisk), then photograph it from all three positions.
5) Light strategy: use winter’s low sun
Winter’s sun angle is a gift for texture—bark, grasses, and stone pop. Practical rules:
- For frost and sparkle: shoot when air temp is between 20–32°F and sun has just cleared the horizon.
- For true color: overcast days reduce harsh contrast and keep evergreens accurate.
- For silhouettes: backlight ornamental grasses and seedheads at sunset.
Regional scenarios: how to adjust your winter plan
Winter gardening looks different depending on your climate. Use these scenarios to decide what “right now” means where you are.
Scenario 1: Cold winter, consistent snow cover (USDA Zones 3–5)
Your best winter work is planning, protection, and pruning during brief warm-ups. Priorities:
- Do: photograph snow-laden structure; protect trunks from rodents; prune only when wood isn’t brittle (avoid <15–20°F work sessions).
- Do: plan seed-starting dates around a typical last frost of May 1–May 31 depending on your microclimate.
- Avoid: heavy pruning of marginally hardy plants that may suffer dieback.
Photo project idea: A “same spot” series is especially dramatic in snowy climates—mark camera positions before deep snow arrives.
Scenario 2: Freeze-thaw and wet winters (USDA Zones 6–7)
This is the winter where gardens can look messy fast and plants can heave. Priorities:
- Do: mulch for stability; reset edging that shifts; clean up disease debris to reduce spring problems.
- Do: prune on dry days to reduce disease spread and improve structure shots.
- Watch: soil compaction—avoid walking on saturated beds. Create a photo path route that stays firm (mulched paths, stepping stones).
Photo project idea: Document a pruning transformation: take “before” shots in early January and “after” shots by late February, then repeat the same angles when blooms arrive.
Scenario 3: Mild winters with early bloom potential (USDA Zones 8–10)
Your winter is often prime growing and prime shooting season. Priorities:
- Do: plant and establish woody plants during cool weather; photograph winter-blooming shrubs; keep up with weeds that never truly stop.
- Do: monitor pests that remain active (aphids, snails/slugs in wet spells) and manage early to protect emerging blooms.
- Watch: sudden cold snaps below 28–30°F—be ready with frost cloth for tender bloom subjects and citrus.
Photo project idea: Build a “winter bloom calendar” with weekly shots: camellias, early magnolias (where grown), winter annuals, and container displays.
Winter checklists (printable and practical)
Garden readiness checklist (this week)
- Remove or hide hoses, empty pots, broken stakes from key sightlines
- Flag edges of paths/steps before snow or leaf litter hides them
- Pick up fallen fruit; remove mummified fruit from trees
- Rake and discard (don’t compost) heavily diseased leaves if disease was severe
- Mulch exposed crowns after freeze-thaw events
- Install trunk guards where rabbits/voles are common
Photography kit checklist (keep it by the door)
- Phone/camera + charged battery
- Small microfiber cloth (winter condensation is real)
- Simple tripod or stable support for low light
- Notebook with your three camera positions and shot list
- Gloves thin enough to operate buttons
Pruning checklist (choose a dry day)
- Clean and sharpen tools
- Disinfect blades between problem plants (especially when canker/fire blight is suspected)
- Remove dead/diseased wood first; bag and discard
- Stop and photograph before/after from the same marked position
Winter rewards follow-through. If you do only two things in the next week, make them these: mark three repeatable camera spots and do one focused cleanup of your main view. Those small moves set you up for a year of stronger garden images—because when spring hits and everything explodes into growth, you’ll already know exactly where to stand and what story you’re documenting.
Sources: University of Minnesota Extension (2020), sanitation guidance for reducing overwintering disease pressure; Oregon State University Extension (2019), tool sanitation recommendations; Washington State University Extension (2021), dormant oil timing and use for certain overwintering pests.