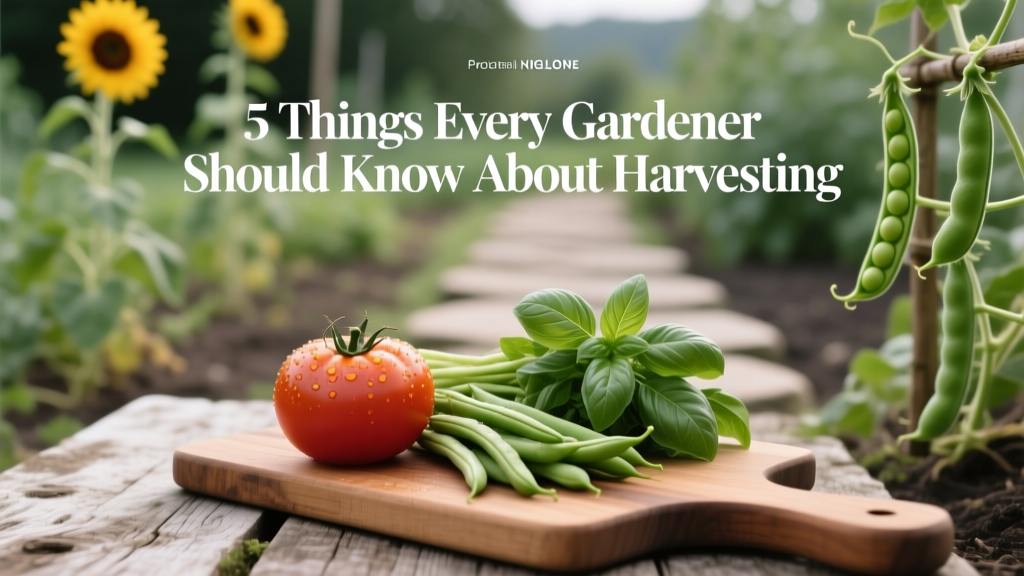
5 Things Every Gardener Should Know About Harvesting
The most expensive gardening mistake usually isn’t a dead plant—it’s harvesting at the wrong time. Pick too early and you get bland tomatoes and skinny carrots; pick too late and you get woody zucchini, bolted greens, and beans that seem to turn to rope overnight. The wild part? A lot of those “bad harvest” problems are actually timing and technique problems, not growing problems.
Below are five harvesting truths that save flavor, boost yield, and stretch your garden budget. These are the shortcuts you only learn after a few seasons of “why is this tough/bitter/mealy?” moments.
1) Harvest timing is a yield tool, not a finishing step
Tip: Pick early in the day for peak crispness (and longer storage)
Most crops are literally fuller of water in the morning, which translates to better snap and longer fridge life. Aim to harvest within 2 hours after sunrise when possible, especially for leafy greens, cucumbers, beans, and herbs. If you’re harvesting in the afternoon, chill produce quickly—heat is the silent shelf-life killer.
Example: If your lettuce is wilting by dinner, try harvesting at 7 a.m., rinsing, spinning dry, and storing it with a paper towel. Many gardeners report going from “sad by next day” to 5–7 days of decent crunch with that one change.
Tip: “Frequent harvest” keeps plants producing (especially beans, zucchini, okra)
For many vegetables, letting fruit mature to “too big” signals the plant to slow down. Beans are a classic: pick them while they’re still slender and you encourage more flowering. For zucchini and okra, harvesting small is the whole trick—miss a couple days and you’re suddenly holding a club.
Specific timing: During peak summer, check zucchini and okra every 24–48 hours. For snap beans, a 3–4 day picking schedule keeps pods tender and plants productive.
Tip: Use maturity markers—not the calendar—especially for roots
Seed packet “days to maturity” is a rough estimate, not a harvest alarm. Soil temperature, variety, and moisture swing timing a lot. For carrots and beets, pull one “test root” first; for potatoes, watch the vines; for onions, look for toppled necks.
Example: Carrots often taste best after cool nights. Many gardeners harvest carrots after the first fall cold snap when nighttime temps dip near 40–50°F, which can push sweetness up as plants convert starches to sugars.
Source note: Morning harvest and rapid cooling are standard postharvest best practices recommended by extension programs; see UC ANR’s postharvest handling guidance (University of California Agriculture and Natural Resources, 2016) for practical cooling and handling principles.
2) The cut matters: use the right tool and the right cut angle
Tip: A clean cut reduces rot and speeds regrowth
Tearing stems (especially herbs, leafy greens, and brassicas) creates ragged tissue that browns faster and can invite disease. Use sharp snips or a knife and make a decisive cut. For cut-and-come-again greens, cut above the crown so the plant can rebound quickly.
Specific technique: For kale, chard, and collards, harvest the outer leaves and leave the center growing point intact. Take no more than 1/3 of the plant at a time to avoid stalling growth.
Tip: Don’t yank—twist or clip to protect the plant (and your next harvest)
Cucumbers, peppers, eggplants, and tomatoes can snap stems if you tug hard, especially when vines are stressed. Support the stem with one hand and clip with the other, or twist gently until it releases. This prevents branch breakage that can reduce the next flush of flowers.
Example: A gardener harvesting peppers by pulling may break off entire side branches—losing not only today’s pepper but the next 6–12 blossoms developing on that fork.
Tip: Keep a “harvest kit” so you don’t improvise with dull scissors
Harvesting gets sloppy when you’re hunting for tools. Keep a small bucket or tote with: snips, a serrated knife, a clean cloth, a twist tie roll, and a marker for labeling. The cost is small, but the savings show up in less bruising and fewer lost vegetables hiding in the foliage.
Cost comparison: A basic pruner/snips set can run $10–$18. A DIY alternative is to sharpen and dedicate an old kitchen paring knife for garden use (free if you already have it), but sanitize it frequently.
“Rapid removal of field heat and gentle handling are two of the biggest factors in maintaining quality after harvest.” — UC ANR Postharvest Center (University of California), 2016
3) Don’t wash everything: postharvest handling changes flavor and shelf life
Tip: Dry first, wash later (for most greens and berries)
Moisture sitting on produce speeds decay. For greens, rinse only if dirty, then spin or pat very dry and store with a paper towel; otherwise, store unwashed and wash right before eating. For berries, don’t wash until you’re ready to snack—one damp berry can mold the rest fast.
Specific hack: Store greens in a container with a paper towel and swap it every 2 days. It’s a cheap trick that controls condensation better than a bag alone.
Tip: Cool fast, but don’t refrigerate cold-sensitive crops
Not everything loves the fridge. Tomatoes, basil, and many peppers can lose flavor or develop chilling injury if stored too cold; meanwhile leafy greens and broccoli want cold immediately. Think of it as two lanes: “cool now” crops and “room-temp okay” crops.
| Crop | Best short-term storage | What goes wrong if you store it wrong | Quick home fix |
|---|---|---|---|
| Leafy greens (lettuce, spinach) | Refrigerator, high humidity drawer | Wilting and slimy edges if warm | Chill within 1 hour; add paper towel |
| Tomatoes | Counter, out of sun | Mealy texture, muted flavor if refrigerated too early | Ripen at room temp; refrigerate only when fully ripe |
| Basil | Counter in a jar of water | Blackened leaves in the fridge | Like a bouquet; change water every 2–3 days |
| Cucumbers | Cool room or fridge short-term | Pitting/watery breakdown if too cold too long | Use within 3–5 days if refrigerated |
Source note: Postharvest storage behavior (including chilling injury risk and temperature guidance) is widely covered by extension references; UC ANR’s Postharvest Technology Center publications are a solid starting point (UC ANR, 2016).
Tip: Cure onions, garlic, and winter squash before you “put them away”
Curing isn’t optional if you want storage life. Onions and garlic need warm, dry air to tighten skins; winter squash needs time for the rind to harden and minor cuts to heal. Skipping curing is how you end up with a soft spot that turns into a compost situation in a week.
Specific numbers: Cure onions/garlic in a dry, airy spot around 70–80°F for 10–14 days. Cure winter squash at about 80–85°F for 7–10 days if you can manage it (a shaded porch or warm garage with airflow often works).
4) Harvesting is also pest control (and quality control)
Tip: Pick “problem produce” immediately to stop the domino effect
Overripe fruit attracts pests and disease. Split tomatoes invite fruit flies; overgrown zucchini attracts squash bugs; soft strawberries invite mold that spreads. Removing damaged produce quickly keeps the rest cleaner and reduces pest pressure without spraying.
Scenario: If you spot one tomato with a crack after heavy rain, pick it right away and use it first. Leaving it on the vine often turns that crack into a rot pocket that can splash spores onto neighboring fruit during watering.
Tip: Use sacrifice harvesting during pest spikes
When pests surge, harvest slightly earlier than “perfect” to save the crop. For example, pick cucumbers smaller when cucumber beetles are active, or pull beets young when leaf miners are wrecking foliage. You trade a little size for a lot less damage.
Real-world example: During a cucumber beetle flare-up, harvesting cukes at 6–7 inches instead of waiting for 8–9 inches can mean the difference between clean fruit and scarred, bitter cucumbers.
Tip: Know the few crops where “leave it longer” actually helps
Some vegetables gain quality by staying put under the right conditions. Carrots can sweeten after cool weather; parsnips are famous for improving after frost. But that only works if the soil stays workable and critters aren’t taking bites.
Scenario: A gardener in a mild fall climate can leave carrots in the ground and harvest as needed, but should protect beds with hardware cloth if rodents are active—1/4-inch mesh is a common go-to for keeping small pests out.
Source note: For frost-related sweetness and cool-season crop quality, see extension vegetable production guidance such as Minnesota Extension’s resources on vegetable harvest and storage behavior (University of Minnesota Extension, 2020).
5) The best harvest plan is a simple system you’ll actually use
Tip: Stagger harvest with “two-basket picking” (eat now vs store)
Bring two containers into the garden: one for perfect, unblemished produce meant for storage, and one for slightly cracked, small, or misshapen items meant for immediate eating or cooking. This prevents you from tossing good food just because it’s not pretty, and it keeps storage boxes from being contaminated by a damaged piece.
Example: Put the cracked tomatoes and oversized zucchini in the “eat now” basket—those become sauce, shredded zucchini bread, or freezer meals within 24 hours, while the flawless fruit stays firm longer.
Tip: Batch your harvest days to match your kitchen time
If you only have energy to cook twice a week, don’t harvest like you’re running a farm stand every day. Do light picking for salads and snacking midweek, and a bigger harvest right before your cooking day. The food waste savings can be surprisingly real.
Cost angle: If you toss even $5 of produce a week because it went limp in the crisper, that’s $260 a year—more than enough to cover seeds, compost, and a decent pair of snips.
Tip: Use cheap field labeling to track peak flavor (DIY, not fancy)
The best harvest “hack” is remembering what worked, because your microclimate is its own science. Use painter’s tape or cut-up yogurt lids as labels and note the date you first picked, plus a quick rating like “sweet” or “meh.” Next season you’ll know if that tomato variety tastes best at deep color or slightly underripe.
DIY cost: A roll of painter’s tape is often $4–$7, lasts ages, and peels off cleanly. Compare that to specialty garden labels at $10–$20 for a small pack.
Three quick “this happened to me” harvest scenarios (and what fixes them fast)
Scenario 1: The zucchini got huge while you blinked
Oversized zucchini isn’t a failure—it’s a scheduling problem. Set a recurring reminder every 2 days during peak heat, and harvest at 6–8 inches for best texture. If you miss it, scoop seeds, shred the flesh, and freeze in 2-cup portions for baking or fritters.
Scenario 2: Tomatoes look ripe, but taste watery
Watery flavor is often about picking stage and storage, not your soil. Let tomatoes color fully on the vine when possible, then hold them at room temperature—don’t park them in the fridge unless they’re already fully ripe and you need to slow them down. If a heat wave is pushing sunscald, harvest at the “blush” stage (first noticeable color) and finish ripening indoors.
Scenario 3: Lettuce keeps turning bitter and bolting
Bitterness often ramps up right before bolting, especially in warm weather. Harvest outer leaves early and often, and when temps climb, switch to early-morning picking and provide temporary shade. A DIY shade fix is a cheap white sheet or 30–50% shade cloth clipped to stakes for the hottest part of the day.
Harvesting is the moment your garden turns into meals—and a few small choices decide whether those meals taste like “homegrown bragging rights” or “well, it was free.” Keep your cuts clean, your timing tight, and your storage habits realistic for your kitchen life, and you’ll be shocked how much better everything tastes without changing a single thing about how you grow.
Sources: University of California Agriculture and Natural Resources (UC ANR), Postharvest Technology Center guidance on handling and cooling produce (2016). University of Minnesota Extension, vegetable harvest and storage recommendations (2020).