Rooftop Garden Windbreak Strategies
The first time you carry a tray of seedlings onto a roof, it feels like freedom—until the wind arrives. One gust lifts a lightweight pot, another dries your soil surface into a crust, and suddenly your “sunny rooftop oasis” looks more like a windswept pier. If you’ve ever watched basil collapse sideways or heard a trellis hum like a tuning fork, you already know: on rooftops, wind is the design client you can’t ignore.
The good news is that you don’t have to “fight” wind. You can choreograph it—slow it, lift it, redirect it—so plants stay upright, leaves stay hydrated, and people actually want to sit out there. Below is how I’d lay out a rooftop windbreak plan the way I would for a real client: starting with observation, then building a layered edge, then choosing plants and structures that do the quiet work all season long.
Start with a rooftop wind read (before you buy anything)
Rooftops behave like little wind laboratories. Air accelerates as it hits the building face, then spills over parapets and corners. Even on a “mild” day, the roof can feel significantly harsher than street level.
Measure the pressure zones you actually use
You don’t need a meteorology degree—just a simple site read:
- Walk the roof at three times: morning, mid-afternoon, and evening. Wind direction often shifts with temperature and surrounding building wake.
- Do the ribbon test: tape 12 in (30 cm) lengths of surveyor’s ribbon to a few stakes or bamboo canes at 24 in (61 cm) and 48 in (122 cm) heights. Where ribbons snap and stream constantly is where plants will suffer.
- Mark “comfort nodes”: spots where you can stand and talk without raising your voice. Those are seating candidates.
- Confirm sun hours: most edible rooftops need 6–8+ hours of direct sun; windbreaks must be planned without shading key beds.
As a performance target, many designers aim for a 50–60% porous windbreak (not a solid wall). That porosity reduces wind speed without creating the turbulence and downwash you get behind a solid barrier.
“Shelterbelts that are moderately permeable—rather than solid—provide the greatest protected area and avoid strong eddies immediately downwind.” — USDA National Agroforestry Center, Windbreak/Shelterbelt guidance (USDA, 2011)
Design principle: slow the wind, don’t stop it
A windbreak that’s too solid can make things worse. Air hits the wall, spills over, and creates a turbulent “rotor” that can shred leaves and knock over pots several feet inside the garden. Your goal is a layered, leaky edge that bleeds wind energy gradually.
The 3-layer edge (structure + plant mass + low filter)
Think of the wind-facing edge as three bands:
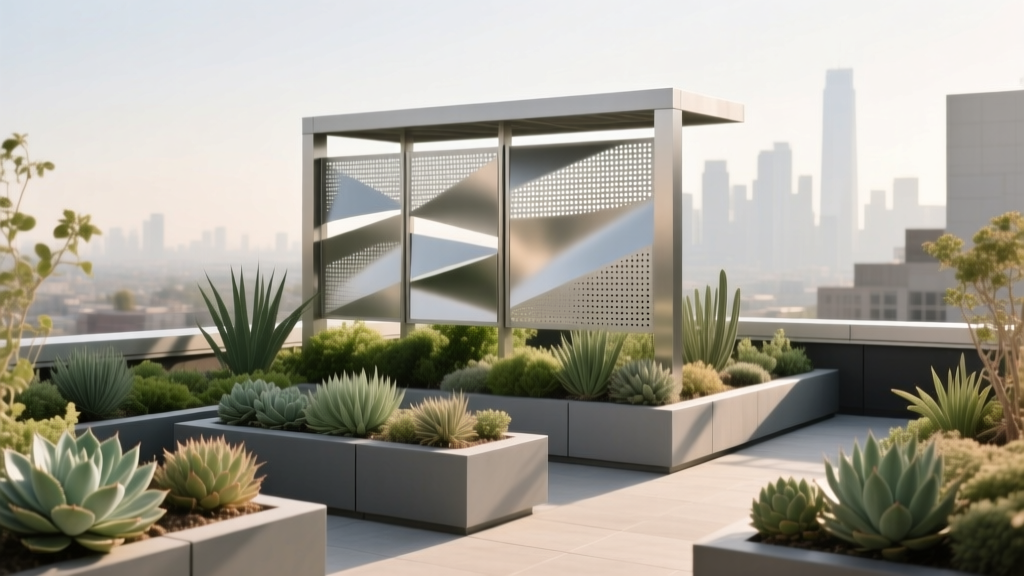
- Outer layer (structural filter): slatted screen, lattice, or mesh that is anchored and rated for rooftop conditions.
- Middle layer (plant mass): tall, flexible plants or shrubs in heavy planters to catch and diffuse gusts.
- Inner layer (low filter): waist-high planters, grasses, or a bench back to calm ground-level turbulence where people sit.
As a quick sizing rule, a windbreak protects a zone downwind of roughly 5–10× its height (performance varies by porosity and rooftop geometry). A 5 ft screen can create a noticeably calmer zone 25–50 ft into the roof—plenty for most home rooftops.
Layout strategies that work on real roofs
Strategy 1: Make an “L” at the windiest corner
Corners are where acceleration and turbulence often peak. If your prevailing wind hits from the west, for example, an L-shaped screen at the northwest corner prevents wind from curling into the garden. Keep the “L” legs long enough to block the wind’s angle of entry—often 6–10 ft per leg is a meaningful start on small roofs.
Spacing tip: place the first row of tall planters 12–18 in behind the screen so the wind can pass through the screen and be caught by foliage, rather than blasting directly into leaves.
Strategy 2: Put the calm zone where you’ll actually use it
It’s common to protect the perimeter and forget the seating. I like to “draw” a calm rectangle for people first: for a bistro table and two chairs, plan at least 6 ft × 6 ft. Then design windbreak layers to defend that zone, even if some planting beds remain more exposed.
Strategy 3: Use planters as ballast and geometry
On rooftops, weight is not just a constraint—it’s also stability. Rectangular planters (for example, 48 in × 18 in × 18 in) behave like low retaining walls, defining space and reducing wind at ankle level. They also prevent “wind tunneling” under a screen.
Before adding significant loads, confirm building limits with your landlord/HOA/engineer. Many roofs are designed for a live load around 40 psf (varies widely by building and code), and saturated soil is heavier than most people expect.
Strategy 4: Avoid long straight corridors that funnel gusts
If you have a narrow roof (say 10–12 ft wide), parallel planter rows can create a wind tunnel. Break alignment with a stagger—shift the second row by 12–24 in or add a perpendicular bench/planter “speed bump.”
Windbreak materials: what to build (and what it costs)
Here’s what I typically spec for homeowners and renters, depending on how permanent the installation can be.
| Windbreak option | Porosity | Durability on roofs | Typical cost (USD) | Best use |
|---|---|---|---|---|
| Slatted cedar screen (1x2 or 1x3 slats) | Medium (40–60%) | High if sealed; recoat every 2–3 years | $25–$45 per sq ft installed | Primary wind edge + privacy |
| HDPE knitted windbreak mesh (50% shade/wind cloth) | High (very “leaky”) | Medium; UV-rated versions last longer | $1.50–$4 per sq ft | Renters, temporary testing, seasonal screens |
| Metal trellis panels with climbing plants | Medium (varies by plant fill) | High | $80–$200 per panel (approx. 2 ft × 6 ft) | Beautiful living windbreak, narrow footprints |
| Glass or solid acrylic panels | Low (near-solid) | High but risky turbulence if misused | $60–$120 per sq ft installed | Only where engineered; use with side returns |
Budget reality: a small but effective DIY mesh screen (8 ft long × 5 ft tall) might cost $60–$180 including clamps/zip ties and a simple frame. A built-in slatted screen of the same size can run $1,000–$1,800 depending on materials and labor. If you’re renting, start with mesh and heavy planters; you can always upgrade later.
Step-by-step: a practical rooftop windbreak install
- Choose the windward edge: identify the side where wind most often hits (use your ribbon test).
- Set the “no-fly zone”: move lightweight décor, empty pots, and folding chairs at least 3–6 ft away until your windbreak is in.
- Install a porous screen first: aim for 5–6 ft height if you’re protecting people and tall crops. For renters, attach wind mesh to a freestanding frame weighted with planters.
- Place ballast planters: put rectangular planters along the base of the screen. Fill them and water them before storms; saturated soil adds stability.
- Add the plant layer: set tall, flexible plants 12–18 in behind the screen. Keep pots tight enough that foliage overlaps by midseason.
- Create the inner calm band: add a bench with a back, a waist-high planter, or a row of grasses 3–5 ft inside to reduce ground-level gusts.
- Secure everything: use stainless hardware where possible; rooftop humidity and fertilizer accelerate corrosion.
Plant selection: varieties that handle rooftop wind and why
Wind on rooftops is a combo of force and dehydration. The best windbreak plants are flexible (bend without snapping), dense enough to filter air, and tolerant of drying. If you’re also growing edibles, you’ll want a mix of “workhorse” plants and a few showpieces.
Structural shrubs and small trees (containers)
These anchor the middle layer and give year-round presence.
- Bay laurel (Laurus nobilis): evergreen, dense, and responds well to pruning into a narrow screen. Works in large pots (think 18–24 in diameter). Great for sunny, sheltered spots; protect in harsh winters.
- Dwarf arborvitae ‘Hetz Midget’ (Thuja occidentalis): compact evergreen that can act as a living baffle. Best where winter exposure isn’t extreme; container needs consistent watering.
- Serviceberry ‘Autumn Brilliance’ (Amelanchier x grandiflora): flexible branching, spring flowers, edible berries for birds, and good fall color. Not an evergreen wind wall, but excellent as a light filter behind a screen.
Grasses and upright perennials (the wind-friendly “net”)
These are my go-to plants for porosity: they move, they don’t break easily, and they calm wind close to the ground.
- Feather reed grass ‘Karl Foerster’ (Calamagrostis x acutiflora): upright, narrow, and durable; makes a clean line in planters. Space about 18–24 in apart in long boxes.
- Switchgrass ‘Northwind’ (Panicum virgatum): strong vertical habit; great for the inner layer where you want movement without flop.
- Russian sage ‘Denim ’n Lace’ (Salvia yangii): thrives in sun and dry conditions; airy but effective as a wind-softening mass.
Edibles that tolerate wind (and a few that don’t)
Wind can be brutal on broad-leafed plants. Choose sturdy crops for exposed zones and reserve the calmest pocket for the divas.
- Rosemary ‘Arp’: more cold-tolerant than many rosemaries; tough, aromatic, and wind-resistant once established.
- Thyme ‘Creeping’ (Thymus serpyllum): low, resilient, and excellent for the inner low filter layer at the base of taller planters.
- Kale ‘Lacinato’: handles breeze better than many greens; plant 12–18 in apart and stake if your roof is very exposed.
- Avoid in high-wind edges: basil, large-leafed lettuce, and tall indeterminate tomatoes unless they’re inside the protected zone and well trellised.
Climbers for living screens
- Scarlet runner bean (Phaseolus coccineus): fast summer coverage, edible beans, and flowers that bring pollinators. Needs a secure trellis; place in the calmest strip behind the outer screen.
- Grape ‘Reliance’ (Vitis): tough once established, but only if you can provide a very sturdy trellis and adequate root volume (large containers).
Why these work: flexible stems and narrow leaves reduce wind drag; dense branching or multiple stems create porosity; drought tolerance helps manage the constant evaporative pull of rooftop air.
Three real-world rooftop scenarios (and how I’d solve each)
Scenario 1: The renter’s 8 ft × 12 ft roof deck with strict rules
You can’t drill, you can’t add tall permanent structures, and the deck furniture keeps migrating. I’d build a reversible windbreak kit:
Layout: create an L-shape using two freestanding frames: one 8 ft long and one 5 ft long, both 5 ft tall, wrapped in UV-rated wind mesh. Weight the bases with two rectangular planters.
Plants: a row of ‘Karl Foerster’ grass in a long planter (48 in box), plus rosemary and thyme in heavy ceramic pots.
Cost range: $250–$700 depending on planter quality and whether you build frames from pressure-treated lumber or modular steel pipe.
Result: a calm seating square near the “inside” of the L, and a protected strip for herbs that won’t shred in gusts.
Scenario 2: The exposed 20th-floor roof with a parapet but constant turbulence
This is where people assume the parapet should be enough. Often it isn’t, because wind spills over the top and creates a fast, choppy zone right where you want plants.
Layout: set a porous screen 12–18 in inside the parapet line rather than on it, so the parapet and screen act as a two-stage filter. Then place tall planters another 12–18 in inside the screen.
Plants: bay laurel in 24 in pots spaced about 30–36 in apart (pruned narrow), underplanted with switchgrass ‘Northwind’ for a second layer.
Cost range: $1,200–$3,500 for a 12–16 ft run depending on screen material and container choices.
Result: less leaf scorch, fewer snapped stems, and a noticeably quieter zone for dining.
Scenario 3: The family roof where you need kid-safe, pet-safe wind control
Here, the design has to prevent tipping hazards and avoid sharp hardware. I’d focus on broad, low stability and soft edges.
Layout: use waist-high, wide planters (minimum 18–24 in wide) as the inner layer, with a higher slatted screen behind them. Keep the calm play zone centered—think 8 ft × 10 ft if possible.
Plants: sturdy grasses, thorn-free shrubs, and edible herbs. Avoid spiky yuccas or plants with brittle branches where kids run.
DIY safety upgrade: add corner bumpers to planter edges and use enclosed ballast (gravel bags inside planter bases) rather than exposed weights.
What research tells us about wind, evaporation, and rooftop plant stress
Wind increases evapotranspiration—plants lose water faster, and soil dries from the top down. That’s why a roof garden can look “overwatered” and still be thirsty.
University of Florida IFAS Extension notes that wind “increases water loss” and can cause “leaf scorch and desiccation,” particularly in exposed landscapes (UF/IFAS, 2019). On rooftops, that effect is amplified by sun and reflected heat.
For practical design, I use two takeaways supported across windbreak guidance: (1) porous barriers protect better than solid walls in many situations, and (2) distance matters—your best protection is in the zone immediately downwind of the windbreak, not scattered randomly.
Citations: USDA National Agroforestry Center windbreak guidance (USDA, 2011); University of Florida IFAS Extension on wind effects and plant water loss (UF/IFAS, 2019).
Maintenance expectations (so the windbreak stays effective)
A rooftop windbreak is not “set it and forget it,” but it doesn’t have to be high-maintenance. Plan for 30–60 minutes per week in the growing season, plus seasonal tune-ups.
Weekly (growing season)
- Water check: windy weeks can require watering 2–4 times depending on pot size and sun. Self-watering planters can reduce this.
- Fastener scan: take 3 minutes to check zip ties, clamps, and any wobble in freestanding frames.
- Leaf and debris clear: windbreaks trap litter; keep drains and scuppers clear to avoid rooftop pooling.
Monthly
- Prune for porosity: if shrubs become too dense, thin slightly so air can pass through. Overly solid plant walls can create turbulence.
- Rotate and re-space pots: close gaps where wind jets through. Even a 6–8 in gap can create a focused blast.
Seasonal tasks
- Spring: re-tension mesh, replace UV-brittle ties, top-dress containers with compost, and stake tall perennials early.
- Summer: deadhead and shear grasses/perennials if they flop; check irrigation emitters for clogs.
- Fall: reduce sail area—cut back tall annuals, remove weak trellises, and group pots closer together before storms.
- Winter (cold climates): protect containers from freeze-thaw and consider moving tender plants to the most sheltered corner behind the windbreak.
Smart budget moves and DIY alternatives
If you’re watching costs, prioritize the parts that do the most work: the first porous screen and the heaviest, most stable planters.
- DIY wind mesh first, wood screen later: mesh lets you test placement for one season. If the calm zone lands exactly where you want it, upgrade to a slatted screen.
- Use “functional ballast”: instead of buying weights, invest in larger planters that you’ll keep long-term. A pair of 48 in trough planters can stabilize a whole edge.
- Choose smaller plants in bigger pots: big pots buffer drying winds and temperature swings; small pots are constant emergencies.
- Repurpose privacy panels: outdoor folding screens can work if they’re secured and backed with planters; just avoid anything that can become a sail.
One of my favorite cost-effective combinations for renters: a 50% wind mesh on a freestanding frame, backed by a row of grasses and herbs. It’s not glamorous in the catalog—but on a roof, comfort is glamour.
The win you’re aiming for is quiet competence: leaves that stop shredding, soil that stays moist a day longer, a chair that doesn’t scoot, and a garden that feels like it belongs up there. When the next gust comes through—and it will—you’ll hear it, but you won’t have to chase your pots across the roof.